
This post was created with help from AI tools and carefully reviewed by a human (Muntaseer Rahman) . For more on how we use AI on this site, check out our Editorial Policy.
Check Out These FREE Tools We Made JUST For You!
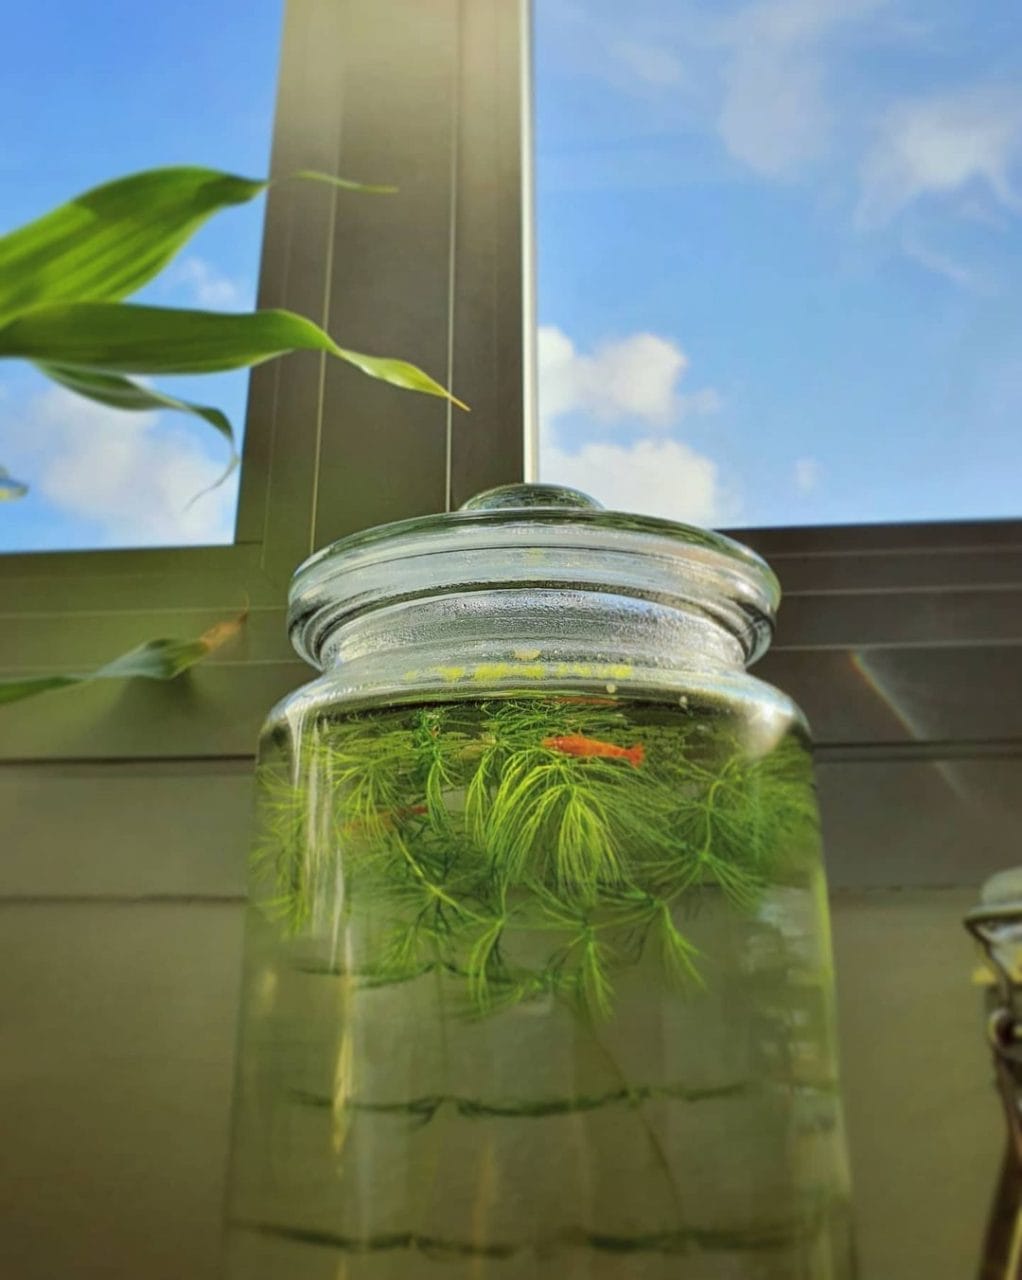
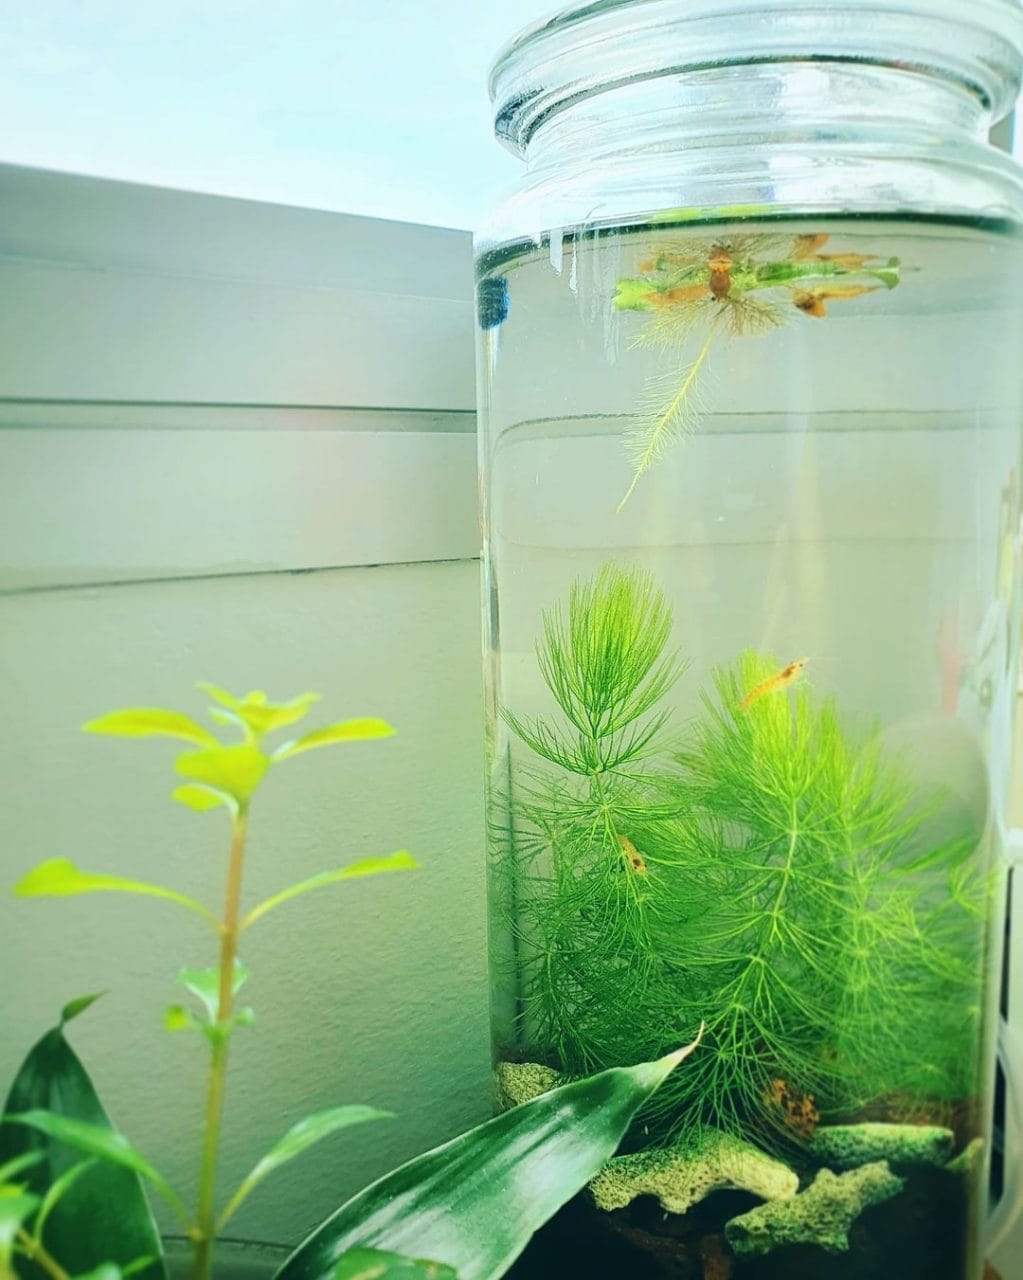
How To Setup A Shrimp Jarrarium? [8 Easy Steps]

You know what’s cooler than a regular aquarium? A tiny ecosystem in a jar that basically takes care of itself while looking like something out of a Miyazaki film.
Seriously, shrimp jarrariums are where the magic happens.
We’re talking about creating a miniature underwater world where tiny shrimp waddle around like they own the place (which they kind of do). And the best part? You don’t need a degree in marine biology or a trust fund to pull this off.
Let me walk you through this whole thing, and trust me, by the end you’ll be itching to start your own.

What Even Is A Jarrarium?
Look, the name basically gives it away.
It’s an aquarium in a jar. Revolutionary, right?
But here’s where it gets interesting—jarrariums are these self-contained little ecosystems where plants, microorganisms, and shrimp all work together like the world’s tiniest commune. The plants filter the water, the shrimp clean up debris, and everyone lives happily ever after.
Well, mostly. We’ll get to that.
The whole concept gained serious traction thanks to Diana Walstad’s book “The Ecology of the Planted Aquarium,” which basically turned planted tanks into a science. Now there’s even a Reddit community with over 70,000 members obsessing over these things.
That’s more people than most small towns, all united by their love of tiny underwater worlds.
Why Shrimp Though?
Fish are cool and all, but they’re honestly terrible jarrarium residents.
Even tiny fish need way more space than a jar can provide. Cramming a betta into a one-gallon jar? That’s basically like living in your closet. Not fun.
Shrimp, on the other hand, are the perfect tenants. They’re small, they have a ridiculously low bioload (fancy term for “they don’t create much waste”), and they’re actually pretty entertaining to watch. Plus, they come in colors that would make a unicorn jealous.
Red, blue, yellow, orange—you name it, there’s probably a shrimp that color.
The most popular choice? Cherry shrimp (Neocaridina davidi). These little guys are the golden retrievers of the shrimp world—friendly, adaptable, and basically impossible to mess up with. They can handle temperatures from 65°F to 84°F and don’t throw a tantrum if your water parameters aren’t absolutely perfect.
The Science Part (But Make It Interesting)
Okay, so we need to talk about the nitrogen cycle. I know, I know—it sounds like high school chemistry class, but stick with me.
Here’s what happens: Shrimp poop. (Shocking, right?)
That poop breaks down into ammonia (NH3), which is basically poison for aquatic creatures. Luckily, some good bacteria called Nitrosomonas show up and convert that ammonia into nitrite (NO2). Progress!
But nitrite is still toxic, so another bacteria called Nitrospira converts it into nitrate (NO3), which is way less harmful. Your plants gobble up the nitrate, and boom—you’ve got a functional ecosystem.
This whole process is called “cycling,” and it takes about 4-6 weeks to complete properly. Some folks try to rush it, but that’s like trying to microwave Thanksgiving dinner—technically possible, but probably disappointing.
For shrimp specifically, you actually want to wait even longer—like 2 months—because they need time for biofilm and algae to grow. That biofilm is basically shrimp fast food, and trust me, they love it more than we love pizza.

What You Actually Need
Let’s talk shopping list.
The Jar
First up: the jar itself. And no, I’m not talking about a Mason jar you use for pickles.
You need something with at least 1.25 gallons (about 4.73 liters) of capacity. Bigger is better, honestly. Most experienced jarrariumers (yes, that’s a word now) use 2-gallon cookie jars or large pickle jars.
The jar needs to be glass and transparent. Plastic gets cloudy and scratched, and colored glass defeats the whole purpose of watching your shrimp do their thing.
Pro tip: Hit up thrift stores. You can find massive glass jars for like five bucks.

Substrate: The Foundation of Your Empire
This is where the Walstad method gets specific. You need two layers:
Bottom layer: About 1 inch of topsoil. Not the fancy potting mix with fertilizer—just plain topsoil. This is where your plants get their nutrients.
Top layer: About 1-1.5 inches of sand or gravel. This “caps” the soil so it doesn’t turn your water into chocolate milk. Make sure you use inert substrate (stuff that won’t mess with your pH), like regular aquarium sand or pool filter sand.
Here’s a fun fact: Research shows that darker substrates make cherry shrimp more colorful. Something about feeling safer with camouflage makes them really show off. So if you want Instagram-worthy shrimp, go dark.
Plants: The Real MVPs
In a Walstad jarrarium, plants aren’t just decoration—they’re your life support system.
You want fast-growing plants that’ll suck up all those nitrogen compounds before they become a problem. Here are the all-stars:
Fast-Growing Stem Plants (40-60% of your tank):
- Pearlweed (grows like crazy)
- Water Wisteria (basically indestructible)
- Cabomba (pretty and effective)
- Hornwort (the workhorse)
Floating Plants (essential):
- Salvinia (my personal favorite)
- Red Root Floaters (gorgeous)
- Dwarf Water Lettuce (chunky and cute)
Accent Plants:
- Java Moss (shrimp nursery)
- Anubias Petite (slow but classy)
- Java Fern (classic choice)
The floating plants are non-negotiable. They absorb nutrients like crazy and provide shade, plus shrimp love grazing upside down on them. I’ve seen my shrimp basically living on the underside of salvinia like they’re defying gravity.

Decorations
Stones and driftwood aren’t just pretty—they give algae and biofilm surfaces to grow on.
More surfaces = more shrimp snacks = happier shrimp. It’s science.
Just make sure you boil or thoroughly clean anything from outside. You don’t want to accidentally introduce nasty bacteria or parasites.
Lighting
Here’s where people overthink things.
You don’t need some expensive aquarium light. A basic USB clip-on LED light works fine for most jarrariums. The old rule of “2 watts per gallon” was designed for deep aquariums, not shallow jars.
Just give your jar 8-10 hours of light per day. Not direct sunlight though—that’s basically an invitation for an algae apocalypse.
Water Conditioner
Essential. Like, not optional.
Tap water has chlorine and chloramine that’ll murder your shrimp and beneficial bacteria. A basic water conditioner removes all that nasty stuff. They’re cheap and last forever.

The Setup Process: Let’s Build This Thing
Step 1: Clean Everything
Wash your jar with hot water. No soap—soap residue is death for aquatic life.
If you’re using a secondhand jar, go ahead and use boiling water to sterilize it. Then rinse like your life depends on it.
Step 2: Add the Soil Layer
Pour in about 1 inch of topsoil. Spread it evenly.
This is going to release ammonia into the water column, which is actually good—it kickstarts your nitrogen cycle. But it’s also why we need to wait before adding shrimp.
Step 3: Cap It
Gently add your sand or gravel cap. About 1-1.5 inches.
Here’s a trick: Mist the soil with water first so it doesn’t float up when you add the cap. Makes your life way easier.
Step 4: Plant Everything
Before adding water, plant your stem plants and any rooted plants.
Space your stem plants about an inch apart. They’ll grow and fill in, so don’t crowd them initially. Use tweezers if you have them, but fingers work fine too.
Keep misting your plants with water while you work. Dry plants = dead plants.
Step 5: Fill It Up (Carefully)
This is where people mess up. If you just pour water directly, you’ll create an underwater mudslide.
Instead, place a piece of bubble wrap or a plastic bag over your substrate. Pour water onto that, slowly. The water diffuses and doesn’t disturb your carefully arranged substrate.
Treat your tap water with conditioner before filling. Some people use water from an established tank, but conditioned tap water works perfectly fine.
Fill almost to the top, but leave at least an inch of space.

Step 6: Add Floating Plants
Toss in your floating plants after filling. They’ll do their thing.
Step 7: Add Light
Set up your light source. Remember: 8-10 hours per day is the sweet spot.
Step 8: Now We Wait
This is the hardest part. Seriously.
Your jar needs to cycle for at least 4-6 weeks, but for shrimp, you really want to wait 2 months. I know it’s painful watching an empty jar, but patience pays off big time.
During this time, you’ll see algae appear. Don’t panic—that’s actually good news. It means your jar is developing the biofilm and food sources your shrimp need.
Test your water weekly with an aquarium test kit. You want to see ammonia and nitrite eventually drop to 0 ppm, with some nitrate present (under 20 ppm).

Choosing Your Shrimp
When your jar is finally cycled, it’s shrimp time.
Cherry shrimp (Neocaridina davidi) are the ultimate beginner choice. They’re hardy, colorful, and breed like rabbits. Plus, they come in basically every color:
- Red Cherry (the classic)
- Blue Dream (gorgeous deep blue)
- Yellow Golden (sunshine in shrimp form)
- Orange Sakura (bright tangerine)
- Green Jade (rare but stunning)
- Black Rose (dramatic and bold)
Other good options include Ghost Shrimp (transparent and cheap) and Amano Shrimp (algae-eating machines, but they don’t breed in freshwater).
Start with at least 10 shrimp to ensure you have both males and females. Females are bigger and more colorful; males are smaller and more translucent.
Adding Your Shrimp: Don’t Rush It
When you bring shrimp home, they’re stressed. You need to acclimate them slowly or they’ll literally die from shock.
Here’s how:
- Float the bag in your jar for 1-2 hours to equalize temperature
- Use airline tubing to drip tank water into the bag over 1-2 hours
- Gently net the shrimp and add them to the jar (don’t add the bag water—it might have nasty stuff)
Watch them for the first few hours. They should start exploring and grazing. If they’re swimming frantically or hiding constantly, something’s wrong with your parameters.
Maintenance: The Easy Part
One of the beautiful things about jarrariums? They need way less maintenance than regular tanks.
Here’s your routine:
Weekly:
- Top off evaporated water with conditioned water
- Check that your plants are thriving
- Watch for any dead shrimp (rare, but remove them if you find any)
Every 2-3 Weeks:
- Do a 10-20% water change with conditioned water
- Trim overgrown plants and replant the cuttings
Monthly:
- Test water parameters (ammonia, nitrite, nitrate, pH)
- Observe shrimp behavior and color
That’s basically it. No filters to clean, no complicated equipment to maintain. The plants do most of the heavy lifting.
Feeding Your Shrimp
In a well-established jarrarium, you barely need to feed your shrimp.
They’ll graze on biofilm, algae, and decaying plant matter 24/7. It’s like an all-you-can-eat buffet that never closes.
But you can supplement their diet 2-3 times a week with:
- Shrimp-specific pellets
- Blanched vegetables (zucchini, spinach, cucumber)
- Fish flakes (crushed up)
Whatever you add, remove it within 2-3 hours if they don’t eat it. Leftover food rots and creates ammonia spikes.
Common Mistakes (Learn From My Pain)
Mistake #1: Rushing the cycle
I know waiting 2 months sucks, but adding shrimp to an uncycled jar is basically murder. Ammonia burns are brutal.
Mistake #2: Too small of a jar
Smaller jars crash faster. Water parameters swing wildly. Get at least 1.25 gallons.
Mistake #3: Direct sunlight
Your jar is not a plant. Don’t put it in direct sunlight unless you want an algae bloom that looks like something from a horror movie.
Mistake #4: No floating plants
These are essential for nutrient absorption and shrimp happiness. Don’t skip them.
Mistake #5: Using the wrong soil
Potting mix with fertilizer or miracle-gro will nuke your shrimp. Plain topsoil only.
When Things Go Wrong
- Cloudy water: Totally normal initially. Bacterial bloom from cycling. Should clear in a few days.
- Shrimp dying: Check your parameters immediately. Ammonia or nitrite above 0? That’s your problem. Do a water change.
- Algae explosion: Too much light or nutrients. Reduce lighting to 6-8 hours and add more fast-growing plants.
- Shrimp molting: This is NORMAL and healthy. Don’t remove the empty shells—shrimp eat them to recycle calcium.
The Breeding Bonus
If you set things up right, your shrimp will breed. A lot.
Female cherry shrimp carry 20-30 eggs that take 2-3 weeks to hatch. Baby shrimp are tiny copies of adults—no larval stage needed.
You’ll see females with a yellow or green “saddle” on their backs (unfertilized eggs). After molting, they release pheromones and males go absolutely crazy swimming around trying to find them. It’s like a underwater speed dating event.
After mating, females carry fertilized eggs under their tails for 2-3 weeks. The babies hatch as miniature shrimp and immediately start grazing.
Within 4-6 months, those babies are breeding too. Before you know it, you’ll have a thriving colony and be the weird person at parties who won’t shut up about shrimp.
The Bottom Line
Setting up a shrimp jarrarium isn’t rocket science, but it does require patience.
Get a decent-sized jar, set up the Walstad substrate, pack it with fast-growing plants, and wait for it to cycle properly. Add hardy cherry shrimp, keep up with minimal maintenance, and enjoy your tiny ecosystem.
The best part? Once it’s established, it’s probably easier to maintain than most houseplants. And way more interesting to watch.
Plus, when someone asks what you did over the weekend and you say “built a self-sustaining ecosystem in a jar,” you sound way cooler than if you said “binge-watched Netflix.”
Just saying.
Now stop reading and go find yourself a jar. Your future shrimp are waiting.Share

About Author
Hello, I’m Muntaseer Rahman, the owner of AcuarioPets.com. I’m passionate about aquarium pets like shrimps, snails, crabs, and crayfish. I’ve created this website to share my expertise and help you provide better care for these amazing pets.
Disclaimer
This site is owned and operated by Muntaseer Rahman. AcuarioPets.com is a participant in the Amazon Services LLC Associates Program, an affiliate advertising program designed to provide a means for sites to earn advertising fees by advertising and linking to Amazon.com. This site also participates in other affiliate programs and is compensated for referring traffic and business to these companies.