
This post was created with help from AI tools and carefully reviewed by a human (Muntaseer Rahman) . For more on how we use AI on this site, check out our Editorial Policy.
Check Out These FREE Tools We Made JUST For You!
How to Clean a Shrimp Tank (and Get Crystal-Clear Water)
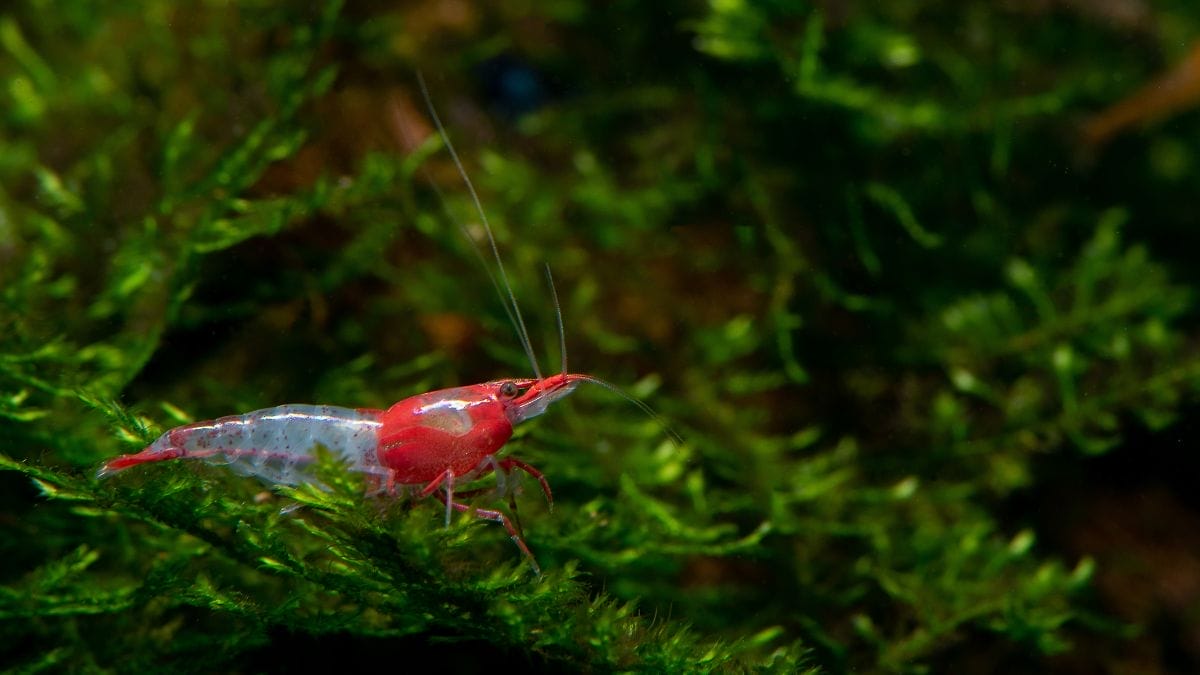
You glance at your shrimp tank expecting that glass-clear, postcard look. Instead you get cloudy soup with a few confused shrimp swimming through the fog.
Been there. The good news is a crystal clear shrimp tank is mostly about doing less, not more.
To clean a shrimp tank, do a 10 to 20 percent water change every 1 to 2 weeks with a gravel vacuum (the gravel vacuum I use for shrimp water changes) held an inch above the substrate, rinse the filter sponge in old tank water once a month, and remove leftover food. To get crystal clear water, stop overfeeding, add gentle filtration, and give a new tank time to finish cycling.
The tricky part is doing all this without sucking up baby shrimp or wrecking the beneficial bacteria that keep your water stable. So let’s walk through it properly.

Why Is My Shrimp Tank Cloudy?
Before you clean anything, figure out what kind of cloudy you’re dealing with. The color tells you almost everything.
| Water color | Usual cause | What to do |
|---|---|---|
| Milky white / hazy | Bacterial bloom (common in new tanks) | Wait it out, stop feeding, tiny water changes |
| Green | Algae bloom from too much light or nutrients | Cut lighting, reduce feeding, blackout if severe |
| Brown / yellow tint | Tannins from driftwood or leaves | Harmless, clears on its own or with carbon |
| Gray / gritty | Stirred-up substrate or new soil dust | Settles in a day, rinse new substrate next time |
Most “my tank won’t go clear” panic is a bacterial bloom, and it is completely normal.
Bacterial Bloom (The White Cloudy Water)
A bloom happens when beneficial bacteria multiply fast, usually while a tank is still cycling or after you’ve added too much food.
It looks alarming but it rarely hurts healthy adult shrimp. Most blooms clear up on their own in 3 to 7 days.
Here’s the counterintuitive part. Big water changes make a bloom worse, because you’re feeding the bacteria fresh nutrients and resetting the balance.
So resist the urge to scrub everything.
How to Fix Cloudy Water Fast
If the haze is sticking around, work through these in order.
- Stop feeding for 2 to 3 days. Shrimp graze on biofilm all day, so they won’t starve. Less food means less fuel for the bloom.
- Do small water changes only. A 10 to 15 percent change with dechlorinated, temperature-matched water is plenty. Skip the big ones.
- Add surface agitation. A bloom eats oxygen, so point your filter output at the surface or drop in an air stone. If your shrimp are hanging near the top gasping, this is urgent.
- Add activated carbon. A carbon pad in the filter pulls out the nutrients feeding the bloom.
- Cut the lights. Drop to 6 to 8 hours a day. For stubborn green water, a full 2 to 3 day blackout works wonders.
A cholla wood piece or an Indian almond leaf also helps, since the tannins support good bacteria and gently polish the water.
Then the hardest step of all. Be patient and let the tank finish balancing itself.
How to Clean a Shrimp Tank (The Routine)
Once your water is stable, regular cleaning is what keeps it crystal clear. A shrimp tank is honestly easier to maintain than a fish tank, so don’t overthink it.
Your routine comes down to three things. Water changes, gravel cleaning, and filter care.
Step-by-Step Water Change
This is the backbone of a clean shrimp tank.
- Prepare new water first. Dechlorinate it and match the temperature and parameters to your tank, since shrimp hate sudden swings.
- Unplug your heater so it never runs dry.
- Use a gravel vacuum or siphon to pull out 10 to 20 percent of the water.
- Refill slowly. Pour over a plate or your hand so you don’t blast the substrate or stress the shrimp.
- Plug the heater back in and you’re done.
Keep it gentle and keep it small. Shrimp react badly to large, fast water changes, which is a common reason for sudden deaths after cleaning. If you’re losing shrimp after maintenance, read up on why shrimp die after a water change.

Gravel Vacuuming Without Hurting Shrimp
Leftover food and shrimp poop collect in the substrate, and that gunk is what clouds your water and spikes your TDS. A gravel vacuum clears it out.
The catch is that shrimp, especially babies, can get sucked up. So slow down.
- Wave your hand over the area first to scatter the shrimp out of the way.
- Hold the vacuum about an inch above the substrate. This grabs debris without digging into the deeper layers, which can release trapped gas and bacteria.
- Work small patches at a time so you can watch what’s getting pulled in.
- Check the vacuum bucket before you dump it. If a shrimp hitched a ride, scoop it back into the tank fast.
Never deep-clean the entire substrate at once. The good bacteria living down there are what keep your tank cycled.
Spot Cleaning With Airline Tubing
For day-to-day tidying, a length of airline tubing is your best friend.
It only moves a small amount of water, so it’s perfect for sucking up a single poop pile or that pellet your shrimp ignored.
Tie the tubing to a chopstick to steer it and keep it weighted near the bottom. Because the suction is so weak, it’s the safest option when you’ve got tiny babies in the tank.
How to Clean a Tank With Baby Shrimp
Baby shrimp are barely the size of a comma and they hide everywhere. Cleaning around them takes a little extra care.
First, scan the tank slowly and find where the little ones are clustered. They love moss, plant roots, and filter intakes.
Cover your siphon or vacuum opening with a piece of mesh or cloth. This simple trick lets water through while keeping babies out, and it works almost every time.
When you refill, pour the new water through a net into a white bucket or container. The white background makes it easy to spot any baby that slipped through so you can return it to the tank.
A sponge filter or a netted intake also helps a lot, since your filter shouldn’t be a shrimp blender. The gentle pull keeps even the smallest shrimp safe.
Cleaning the Filter Without Killing Your Cycle
Your filter holds most of your tank’s beneficial bacteria, so cleaning it wrong can crash the whole system.
The golden rule is simple. Never rinse filter media under tap water. Chlorine wipes out the bacteria instantly.
Instead, swish the sponge or media in a bucket of old tank water you pulled during a water change. Squeeze out the gunk, pop it back in, and your colony stays alive.
Clean the prefilter sponge about every 2 weeks and the main filter roughly once a month. And never replace all the media at once, since that’s basically a soft reset of your cycle.
Algae and Glass Cleaning
A little algae is fine and your shrimp will happily eat it. A lot of algae means too much light or too many nutrients.
To clean the glass, run a soft algae pad or a magnetic scraper down the inside walls before a water change. Then vacuum up whatever falls.
If algae keeps coming back, shorten your light schedule and ease off the food. Fast-growing plants like moss balls and floating species also outcompete algae for nutrients.
What Makes a Shrimp Tank Get Dirty?
A few things decide how often you’ll be cleaning. Get these right and your tank basically stays clear on its own.
- Overfeeding. This is the number one cause of dirty water. Shrimp only need food 3 to 4 times a week, and any leftovers rot into your substrate.
- Tank size. Small tanks foul faster because waste concentrates quickly. A larger volume is more forgiving and more stable.
- Live plants. Plants pull nitrogen straight out of the water as they grow, which means fewer water changes for you. Moss balls, anacharis, water lettuce, and duckweed are easy starters. You can see my full shrimp-safe plant list too.
- Tankmates. Snails and fish add more waste and more food, so a shared tank needs cleaning more often.
How Often Should You Clean a Shrimp Tank?
There’s no single magic number, but this schedule keeps an established tank crystal clear.
| Task | How often |
|---|---|
| Spot-remove leftover food | As needed |
| Water change (10 to 20 percent) | Every 1 to 2 weeks |
| Gravel vacuum (light) | With each water change |
| Rinse prefilter sponge | Every 2 weeks |
| Clean main filter | Once a month |
| Glass / algae wipe | As needed |
Adjust based on your stocking and how much you feed. A heavily stocked tank or a heavy feeder needs the higher end of these ranges.
Tools You Actually Need
You don’t need a shopping cart full of gear. A short, reliable kit covers everything.
- A gravel vacuum or aquarium siphon for water changes and substrate cleaning.
- Airline tubing for delicate spot cleaning.
- A sponge filter or netted intake to protect babies.
- A water conditioner to dechlorinate every refill.
- An API master test kit (the kit I use to check ammonia and nitrites every week) so you can check ammonia and nitrites instead of guessing.
- A white bucket dedicated to tank water only.
That’s genuinely it. Clean water is more about habit than equipment.
Frequently Asked Questions
Do shrimp clean fish tanks?
Yes, to a point. Shrimp eat algae, leftover food, and debris, which helps keep the tank tidy.
They’re a great cleanup crew, but they don’t replace water changes or filter maintenance.
How do I clean shrimp poop in the tank?
Use a gravel vacuum or airline tubing to spot-suck the waste off the substrate.
For pinpoint cleaning, cut a length of rigid tubing, cover the top with your finger, lower it over the poop, lift your finger for a split second, then re-cover to trap the waste inside. Just avoid over-vacuuming, since that disturbs your beneficial bacteria.
Do shrimp tanks need cleaning?
Yes. Even a low-maintenance shrimp tank needs regular care to stay healthy.
A 10 to 20 percent water change every 1 to 2 weeks, plus light gravel vacuuming and filter rinses, keeps parameters stable and water clear.
Why is my shrimp tank cloudy if I just cleaned it?
You probably stirred up the substrate or triggered a small bacterial bloom by cleaning too aggressively.
Give it 24 hours to a few days to settle. Resist doing another big water change, since that usually restarts the cycle of cloudiness.
Can I do a big water change to clear cloudy water faster?
No, and this is the mistake almost everyone makes. Large water changes feed bacterial blooms and shock your shrimp.
Stick to small, frequent changes and let the tank rebalance itself.
Final Thoughts
A crystal clear shrimp tank isn’t about scrubbing harder. It’s about feeding less, cleaning gently, and trusting your tank’s bacteria to do the heavy lifting.
Pick the cleaning method that’s easiest for you and safest for your shrimp, keep your water changes small and regular, and the clear water follows.
Now go enjoy that glass-clear view. Your shrimp earned it, and so did you.

About Author
Hello, I’m Muntaseer Rahman, the owner of AcuarioPets.com. I’m passionate about aquarium pets like shrimps, snails, crabs, and crayfish. I’ve created this website to share my expertise and help you provide better care for these amazing pets.
Disclaimer
This site is owned and operated by Muntaseer Rahman. AcuarioPets.com is a participant in the Amazon Services LLC Associates Program, an affiliate advertising program designed to provide a means for sites to earn advertising fees by advertising and linking to Amazon.com. This site also participates in other affiliate programs and is compensated for referring traffic and business to these companies.