
This post was created with help from AI tools and carefully reviewed by a human (Muntaseer Rahman) . For more on how we use AI on this site, check out our Editorial Policy.
Check Out These FREE Tools We Made JUST For You!
DIY Betta Flare Stick (Pictures With Steps)

A Betta Flare Stick is a tool used to exercise and train Betta fish. It is typically a wooden stick with a base that holds the Betta fish’s attention while it flares its fins.
Though you can buy betta flare sticks at a very cheap price, many owners prefer to make their own. That’s why in this article, I am going to show you how you can make a DIY betta flare stick with simple supplies at home.
Also, don’t forget to email me and let me know how the project went! Do take some pictures of your DIY betta flare stick and email them to me for featuring in this post!
DIY Betta Flare Stick – Using Clay

Supplies You Will Need
- Air-Hardening Clay
- Bamboo Stick
- Clay Tool
- Non-Toxic Colo

Step 1: Take Three Portion of the Clay
The air-hardening clay has is one of the best Clay for modelling. So, for base, take three different portions of clay which will be later reformed to make different shapes.

Step 2: Knead the Dough using Colors
As we took three different portions of clay previously. Now, using the black and blue color, just knead the dough till it makes a smooth texture. After kneading the dough perfectly, it’ll look like the above picture.
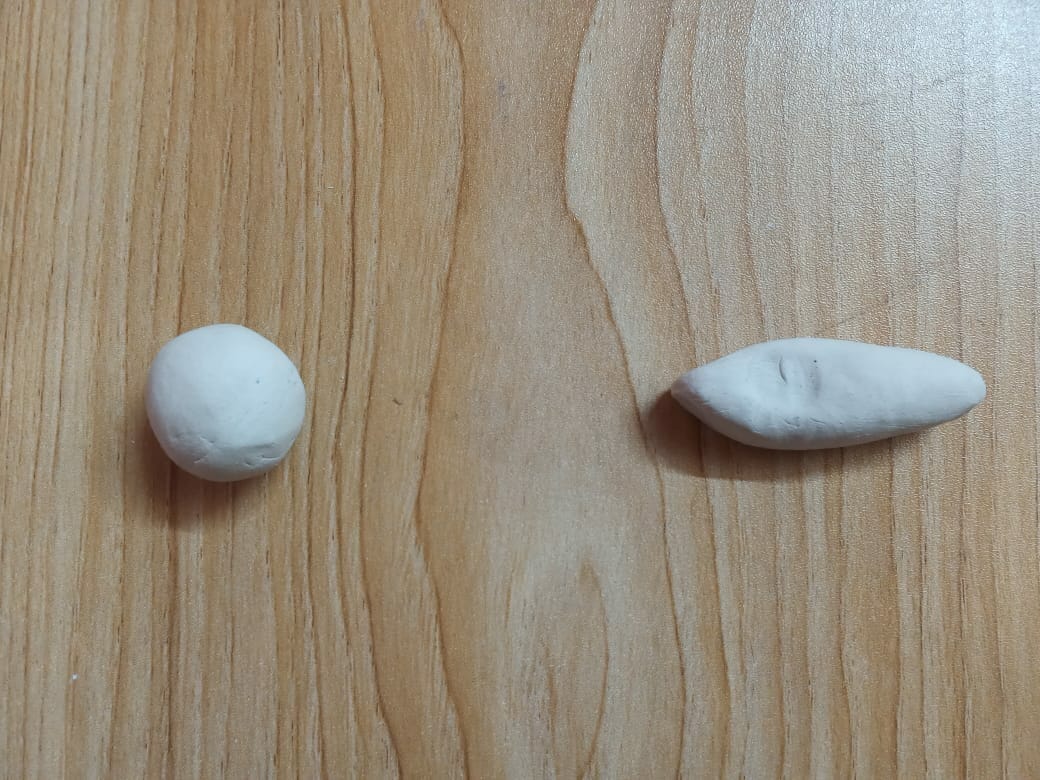
Step 3: Make Betta Fish Base Body
The base body of betta fish is one of the most important parts. If the base isn’t right, the overall shape will come as unsatisfactory. Take the white kneaded dough to make the base. Using two hands, try to slowly make it shape like the above picture. It’ll look more like a fish without a caudal fin and dorsal fin.

Step 4: Attach Fish Body with Wooden Stick
The wooden stick is one of the most important parts of the betta flare stick. Because it holds the whole body of the flare of betta fish. After making the shape of the base, slowly put the stick into the shape and it’ll be strongly attached.
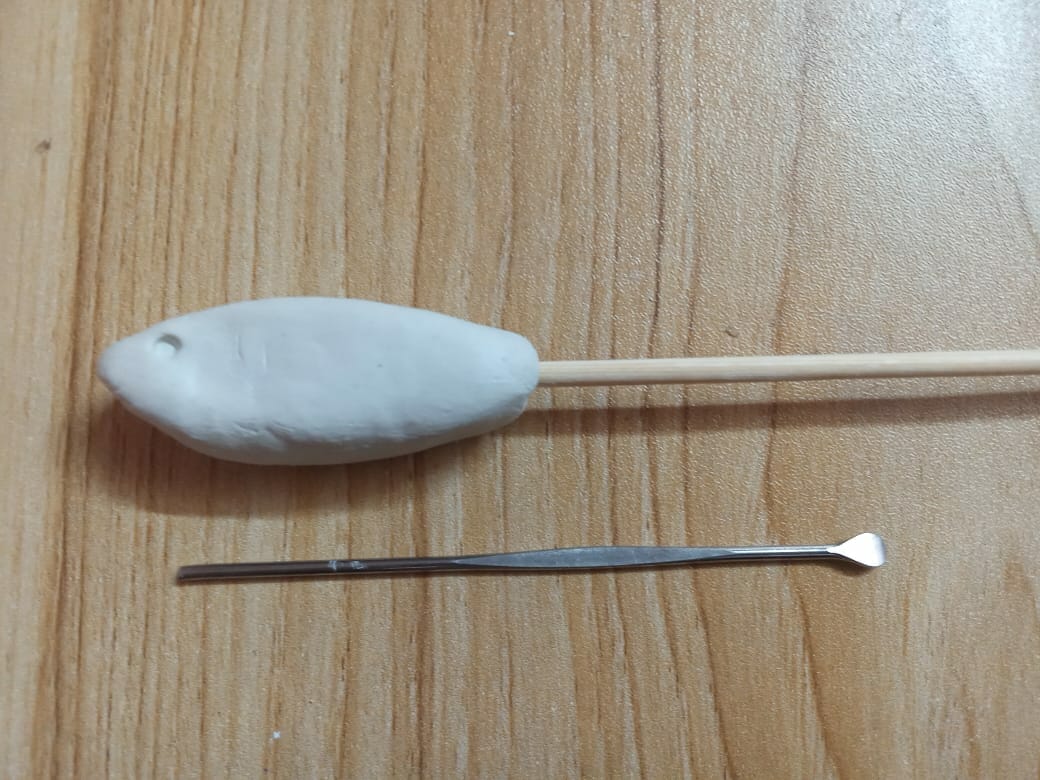
Step 5: Make the Eye Position
They Eye position of the flare is very important. Using the clay tool, make a small dig to fit in the eye of the betta fish flare stick.

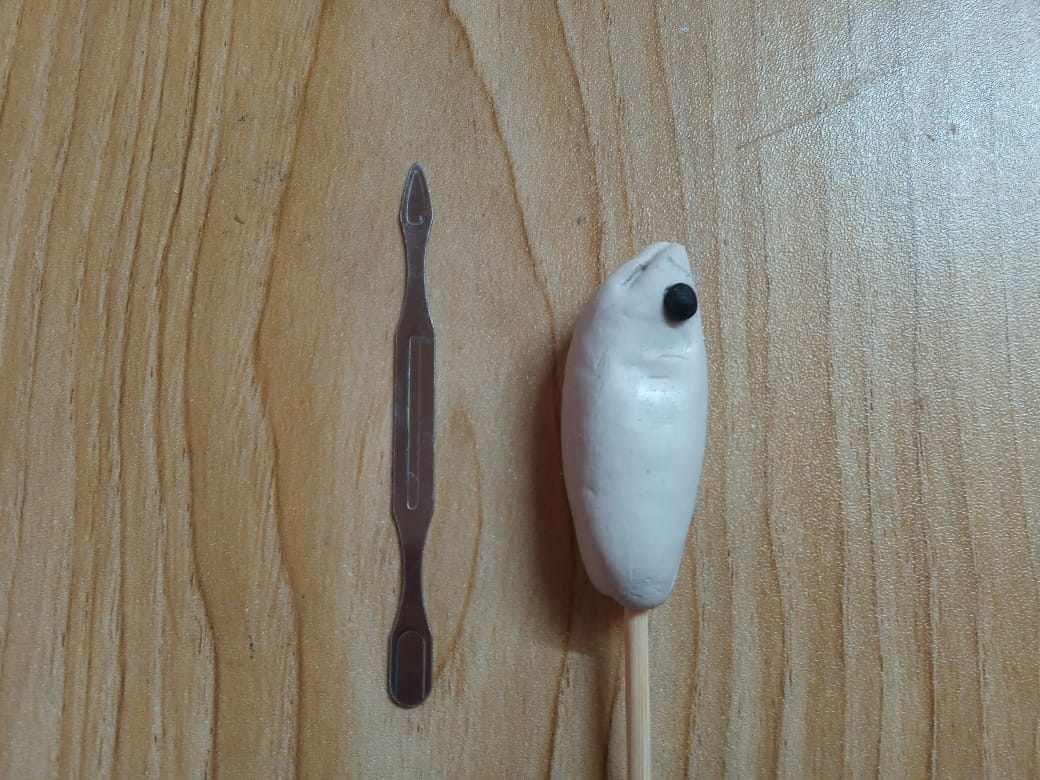
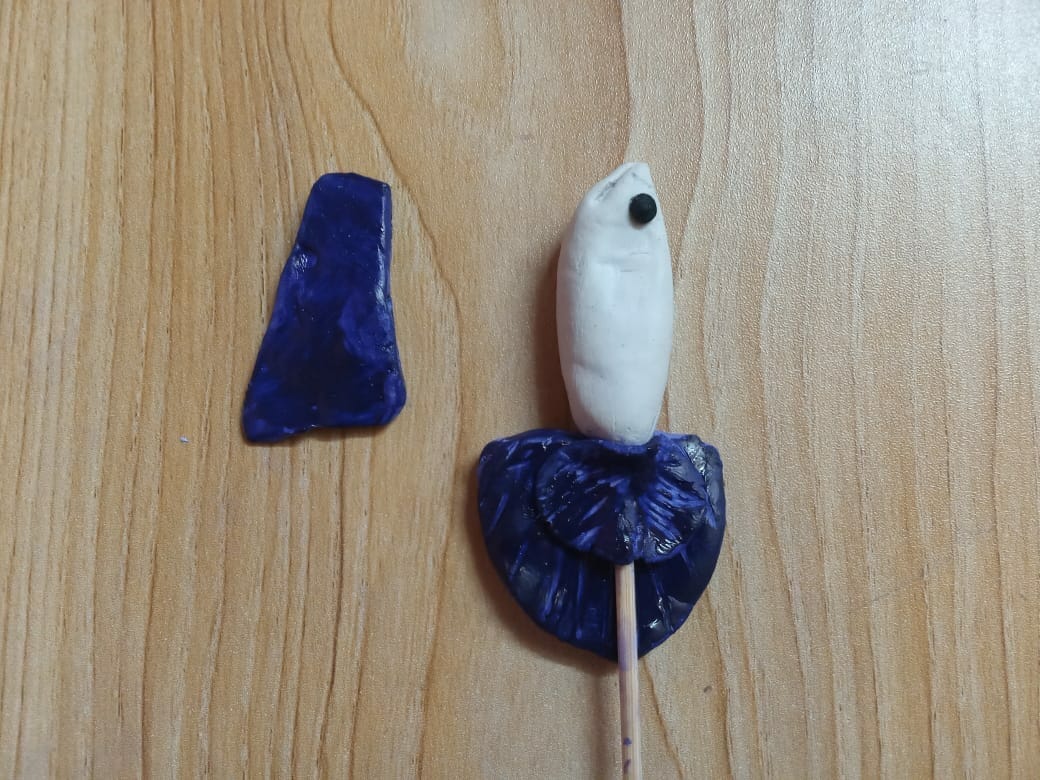
Step 6: Make the Eye
In the beginning, we took the three different colored clay dough. One of them was black. Now, using the black color clay dough, make a tiny round shape and make the eye of the betta fish flare. The eye position is one of the crucial parts of the body. Make sure to fit it in the right position as dug before.
Step 7: Shape the Mouth
The position of the mouth is very crucial. Using the Clay tool, draw the mouth of the betta flare. For drawing the mouth, hold the clay tool precisely and make a wide line starting from bottom-left to top. It’ll give a natural look to the betta fish flare. The mouth shape will give a proper and whole look to the betta fish flare stick.

Step 8: Shape the Caudal Fin
The shape of the caudal bin should be very precise. Using the blue color clay dough. Make shapes like the above picture which will give a proper look for the caudal bin. Using the clay tool, draw lines on the shapes.
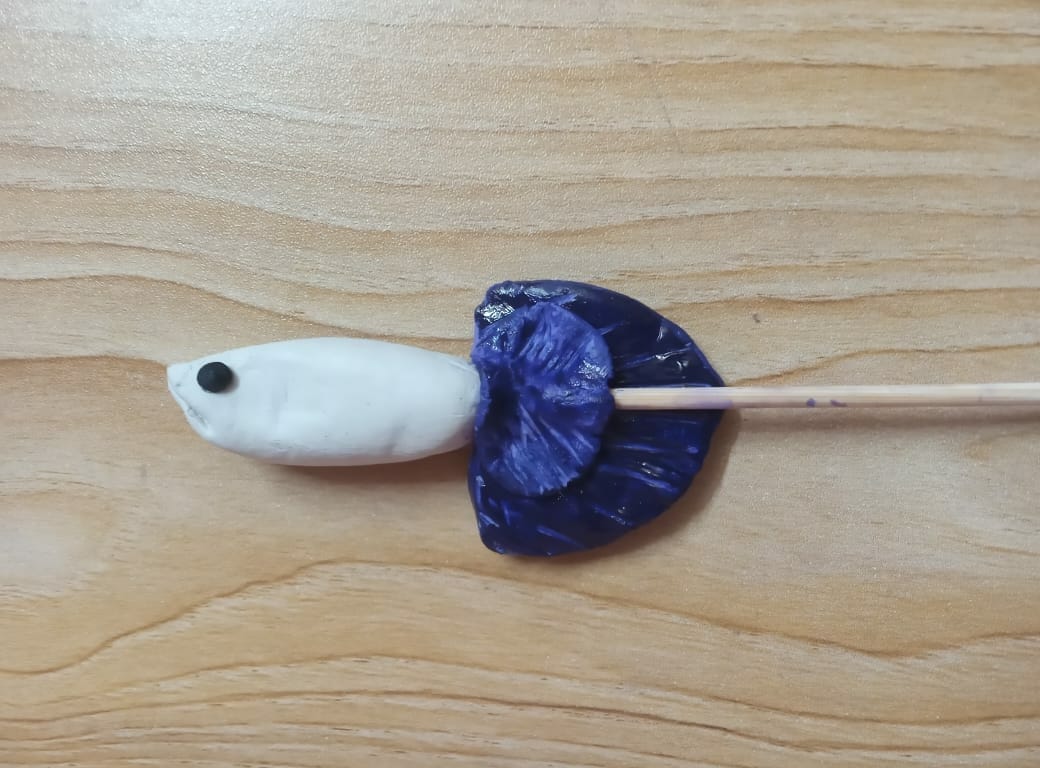
Step 9: Caudal Fin Shape Attach
Attach the caudal fin you’ve made in the earlier step.
Step 10: Shape the Anal Fin
The anal fin is located on the underside of the fish in front of the tail fin by the anus or vent. The anal fin helps to stabilize a fish like the keel on the bottom of a boat.
Using the blue clay dough, make another shape which will be the anal fin of the betta fish flare. The anal fin is also one of the most important parts. Smoothen the figure using your hand and water if the clay has hardened.
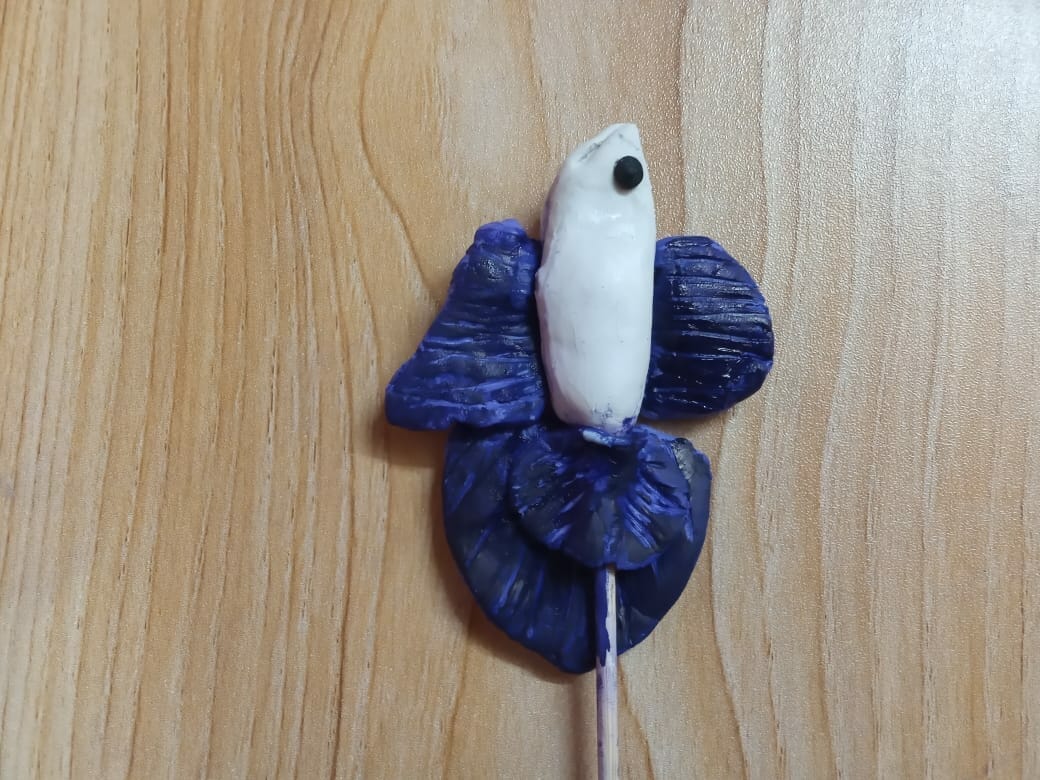
Step 11: Dorsal Fin Attaching
Well, the anal fin and the dorsal fin should be attached on the opposite side of the base body. The dorsal and anal fins help a fish turn and keep a fish upright when turning abruptly. The dorsal fin is located on the top of a fish along the back between the head and tail. A fish may have a single dorsal fin or two connected or unconnected fins.

Step 12: Draw Lines on the body
Using the clay tools, draw horizontal lines on the surface of the body. The body contains the exterior fish scales or armor. If a betta is stressed, you may notice horizontal lines running down the body, especially in females. Babies or fry exhibit these horizontal lines while they are still developing and is usually no reason for concern.

Step 13: Making Ventral Fin
This set of fins is used for steering and is also commonly referred to as the pelvic fins. You can see them used for turning, swimming, stopping, and ascending and descend in the water. They are much smaller in size in females than they are in their male counterparts.
Using the white color clay, make a V-shape ventral fin.
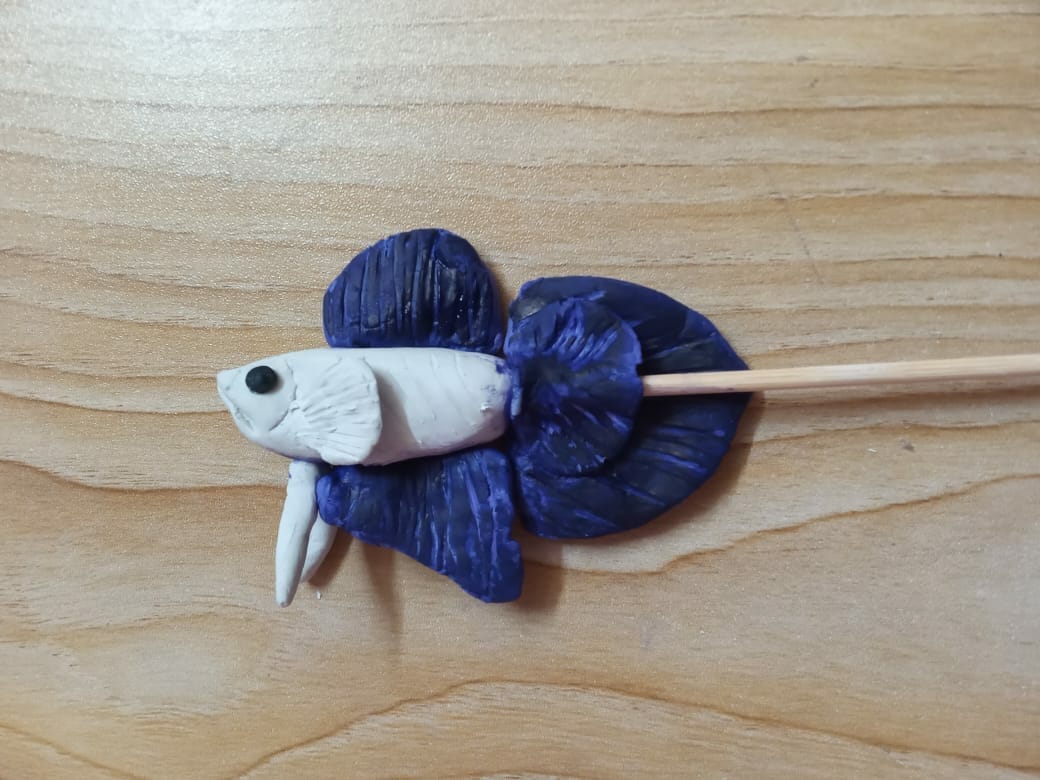
Step 14: Attaching Pectoral Fin
Sometimes referred to as ears, the pectoral fins are constantly in motion while a betta is navigating through the water. Pectoral fins vary in size and color depending on the age and species of a particular betta.
Attach the ear-looking pectoral after the ventral fin. This will give a proper look at betta fish flare.
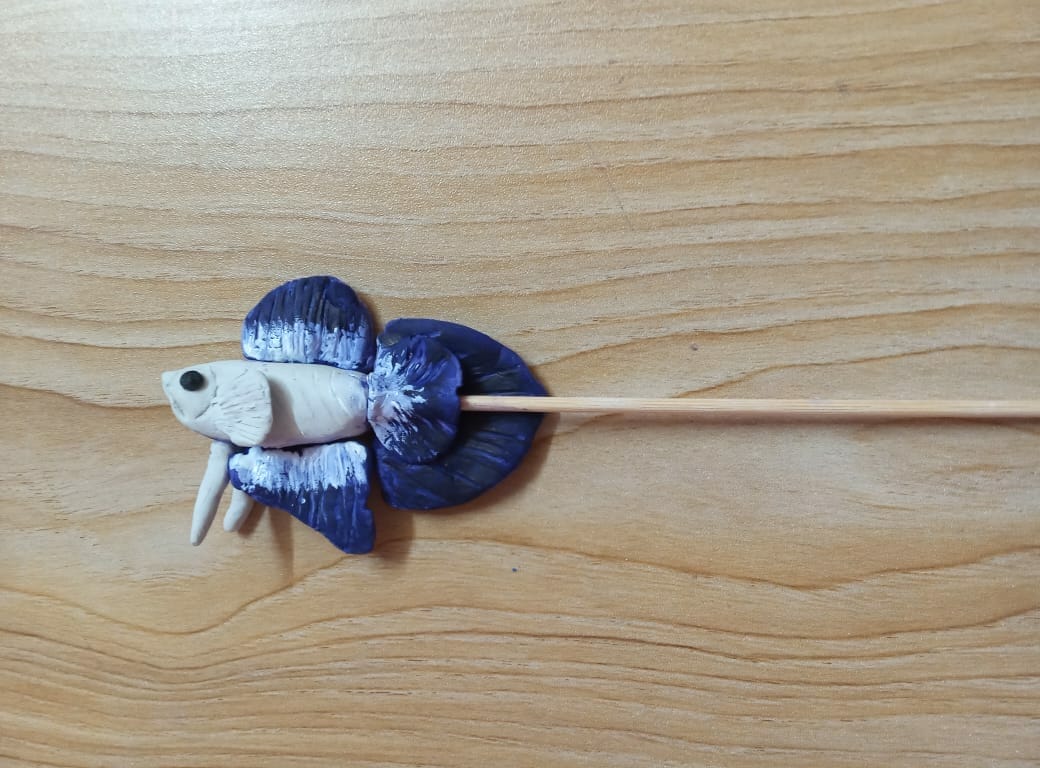
Step 15: Coloring the Betta Fish Flare
Using the white non-toxic color, just colored the Anal Fin, Caudal Fin, and Dorsal Fin. This will give a new look to Betta Fish Flare Stick. Now let it dry for 4-5 hours.

Step 16: The Final Look of Betta Flare Stick
After air-drying, this is the final look of the betta flare stick.


Step 17: The Close Look
So, This is a very close look at the Betta Flare Stick.

About Author
Hello, I’m Muntaseer Rahman, the owner of AcuarioPets.com. I’m passionate about aquarium pets like shrimps, snails, crabs, and crayfish. I’ve created this website to share my expertise and help you provide better care for these amazing pets.
Disclaimer
This site is owned and operated by Muntaseer Rahman. AcuarioPets.com is a participant in the Amazon Services LLC Associates Program, an affiliate advertising program designed to provide a means for sites to earn advertising fees by advertising and linking to Amazon.com. This site also participates in other affiliate programs and is compensated for referring traffic and business to these companies.