This post was created with help from AI tools and carefully reviewed by a human (Muntaseer Rahman) . For more on how we use AI on this site, check out our Editorial Policy.
Check Out These FREE Tools We Made JUST For You!
DIY Betta Hammock: 2 Methods (Pictures With Steps)
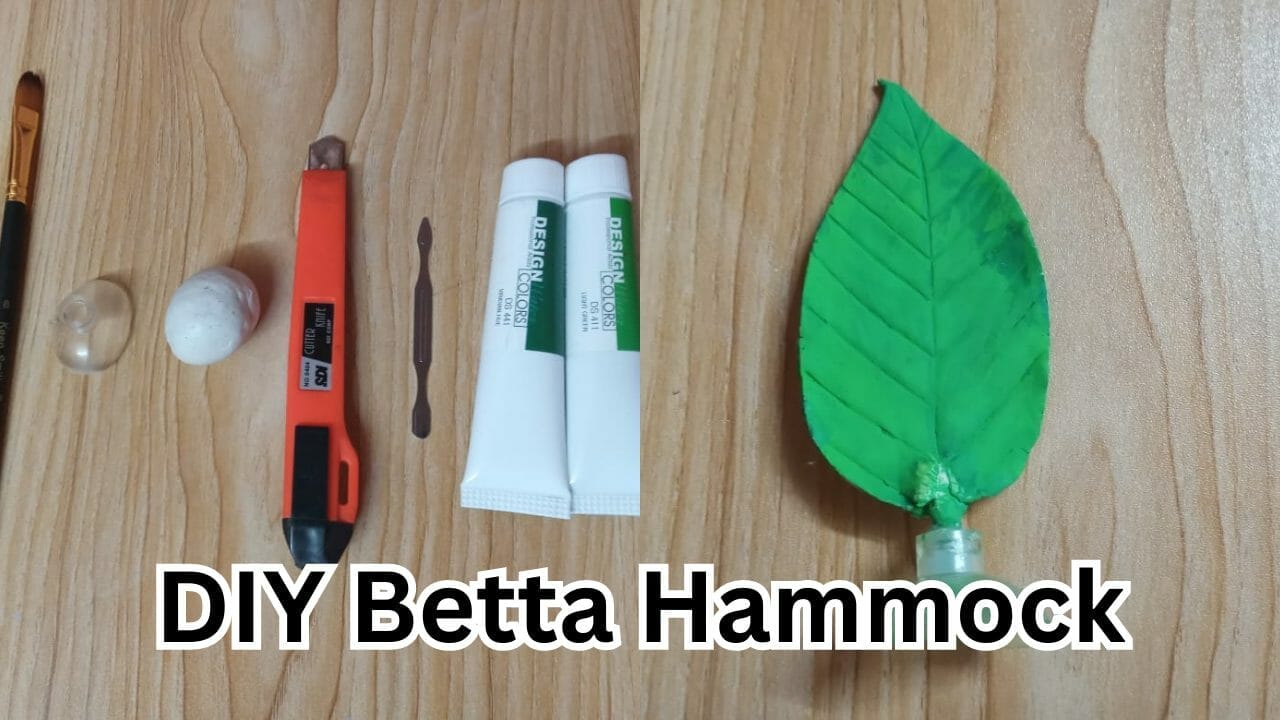
A betta hammock is a small floating platform or leaf-like structure that is designed to provide a resting spot for betta fish in their aquariums. It also enhances the natural appearance of a betta tank (solid starter tank for a betta setup).
Although betta hammocks are very cheap, a creative owner like you might want to create your own betta hammock for your gorgeous betta. I understand that.
That’s why, in this article, I am going to show you 2 methods for creating DIY betta hammock. One method will use a silk plastic leaf, another will use clay. You can choose whichever one your mind cherishes.
Also, don’t forget to email me and let me know how the project went! Do take some pictures of your DIY betta hammock and email them to me for featuring in this post!
DIY Betta Hammock (Method 1) – Using Cheap Silk Plastic Leaf

Supplies You Will Need:
- Two Cheap Plastic Leaf
- One Suction Cup
- A Glue Gun
- Silicon Glue

Step 1: Sticking The Leaf Using The Glue Gun
Using the glue gun, stick the opposite sides of the leaf using the glue gun and silicon glue.


Step 2: Attaching the stick leaf with the suction cup
After sticking the two leaves together, let it stick very nicely first. Afterward, attach the final leaf with the suction cup.

Step 3: The Final Setup (Leaf in Vertical Position)
Just like the wooden hard base, the suction will be attached to the side glass of the betta fish aquarium and will provide the resting place for betta fish. Betta fish like to snooze in their hammocks.
While a betta hammock might not resemble the hammocks that humans laze around in, it serves the same purpose: A betta hammock provides your betta with a safe spot to rest and relax. It’s no secret that bettas enjoy a good nap.

Want to make your betta’s tank actually fun?
Your betta isn’t lazy — he’s bored. And you can fix that with stuff already lying around your house. Soda bottles, ping pong balls, toilet paper rolls, cork, straws — all of it works.
This book has 20 step-by-step DIY projects that turn a boring tank into a playground.
No money spent. No pet store runs. Just 10 minutes and a little creativity.
DIY Betta Hammock (Method 2) – Using Clay

Supplies You Will Need:
- Paint Brush
- Suction Cup
- Clay
- Cutter Knife
- Clay Tool
- Acrylic Colors

Step 1: Knead the Clay Dough
Knead the dough with the knuckles on your fingers- stretch the dough, knead using the knuckles, then fold and knead again.
Keep doing this until your dough is smooth and pliable. Make a rough figure of the clay where each side’s thickness will be equal. You can use water to smoothen the clay if your dough has become air-dried.

Step 2: Cut the Dough in a Shape of a Leaf
Using the Cutter Knife, Cut the clay into a size of a leaf. You can take any kind of leaf references if you want.

Step 3: The Leaf Shape and the Petiole
After cutting the leaf shape, make a petiole using the rest of the clay. Petiole is mainly the stalk that joins a leaf to the stem.

Step 4: Attaching the Leaf with the Petiole
This time, just attach the petiole and the leaf together which will make it look like an actual leaf.

Step 5: Draw the Veins of the Leaf
Using the clay tool, draw the veins of the leaf. Veins mainly carry food/water throughout the leaf and act as a structure support in a real leaf. To give the proper look of a real leaf, veins need to be drawn.

Step 6: Let the Clay Leaf Dry & Cut the Petiole as per Need
Let the clay leaf dry for about 4-5 hours at room temperature. After drying, just cut the petiole as per need. It will look more or less look like the above picture. After air-dried the leaf will be hard.

Step 7: Color the Leaf
Afterward, using the two different shades of green color, paint the leaf which will give a more real leaf vibe and let it dry again.

Step 8: Attaching the Leaf with the Suction Cup
Finally, attach the colored leaf to the suction cup which represents the perfect betta hammock of betta fish.

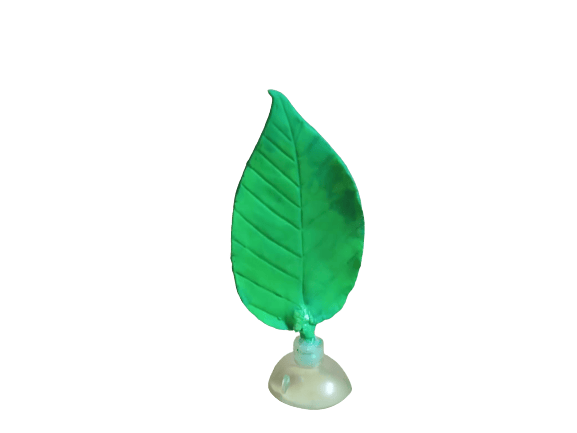
Step 9: The Final Setup
So, this is the final look of the betta hammock made of air-dried clay. The suction will be attached to the side glass of the betta fish aquarium and will provide the resting place for betta fish.
Frequently Asked Questions
What is a betta hammock?
The hammock typically consists of a suction cup that affixes to the side of the tank and a sling- or leaf-shaped piece of material for the fish to rest on.
Why do you need a betta hammock?
Betta fish are labyrinth fish, which means they have an organ that allows them to breathe oxygen from the surface of the water.
Having a hammock near the surface of the water can give betta fish a place to rest and breathe easily.
It can also provide a place for betta fish to sleep or take a nap, especially if they prefer to rest on a surface rather than on the substrate or plants in the tank.
How high should a betta hammock be?
The general recommendation is to place the hammock near the surface of the water, where betta fish can easily access oxygen. The water flow in the tank can affect the height of the hammock, as strong currents may make it difficult for betta fish to rest on the hammock.
In general, a height of 1-2 inches (2.5-5 cm) below the water surface is a good starting point, but it may need to be adjusted based on the betta’s behavior and the tank’s water flow.
Do Betta Fish Actually Need a Hammock?
No, betta fish don’t need a hammock. But if you give them one, they’ll likely use it and enjoy it.
Betta hammocks act like little rest stops. They float near the surface, letting your betta nap without sinking to the bottom or floating awkwardly mid-water. Still, you’ve got other options too—some even better than store-bought hammocks.
Let’s break it all down.

What Is A Betta Hammock?
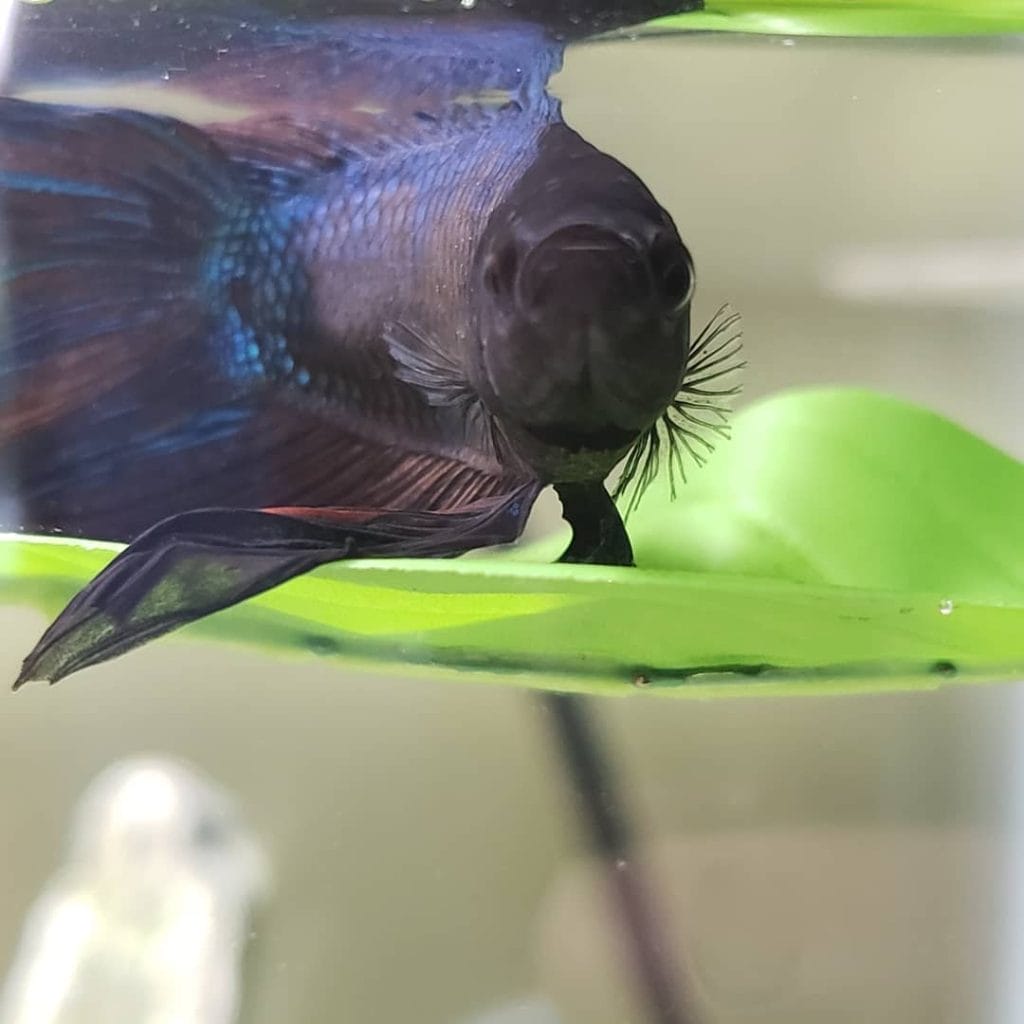
A betta hammock is usually a fake leaf attached to a suction cup. You stick it to the side of your tank, about 1 to 2 inches below the waterline.
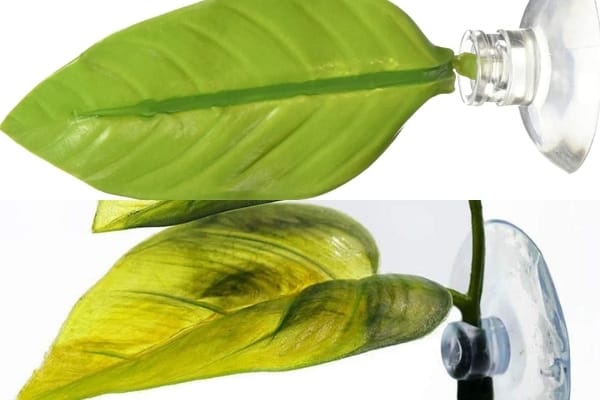
Your betta rests on it, often during sleep or lazy lounging hours. Some people use real leaves or DIY setups, but the goal’s the same—give your fish a soft spot to chill near the surface.

Are Betta Hammocks Necessary?
Not really. Bettas can rest on plant leaves, driftwood, or even the tank bottom. But a well-placed hammock gives them:
- A comfy, elevated resting spot
- Quick access to the surface for air
- Something to claim as “theirs”
So while not a must-have, it’s a nice extra.

Benefits of a Betta Hammock
- Better rest: Bettas like support when they sleep. A hammock helps them stay still without sinking.
- Easy breathing: Their labyrinth organ lets them gulp air. Being near the surface makes that easier.
- Stress relief: A shady, soft hammock gives them a place to hide or nap—good for anxious fish.
Where to Place the Hammock
Keep it 1–2 inches below the surface. That’s the sweet spot.
- Best spots: Near the top, beside soft plants, or in a calm corner
- Avoid: Near the filter output, heater, or directly on the substrate
Also, make sure it’s in a quiet part of the tank with little current.

What If My Betta Doesn’t Use It?
Sometimes they ignore it. Could be:
- Bad placement (too close to heater/filter)
- Too bright (bettas prefer sleeping in dim spots)
- They just don’t like it (yep, bettas have moods)
Try moving it. Or place a treat on the leaf once. Some learn what it’s for.
Are Betta Hammocks Safe?
Mostly, yes—if you take a few steps:
- Remove any metal wires in the leaf stem
- Rinse well before use
- Keep it away from strong current and heat
- Check for sharp edges that might tear fins
Keep it clean, and you’re good.
How Much Do Betta Hammocks Cost?
You’ll find most between $3–$7. Zoo Med’s Betta Bed is a popular pick. Looks like a giant leaf with a suction cup. No frills, but it works.

DIY Betta Hammock (Cheap Alternative)
Don’t want to buy one? Make your own:
You’ll need:
- A silk plant leaf
- A suction cup
- Scissors
- Optional: aquarium-safe glue
How to make:
- Cut off a broad silk leaf with stem.
- Insert the stem into the suction cup hole.
- Add a dab of aquarium glue to keep it firm.
- Stick it to the tank wall—2 inches below surface.
Done. Free hammock.
For detailed instruction: DIY Betta Hammock: 2 Methods (Pictures With Steps)
Better Than Hammocks? Try Real Plants
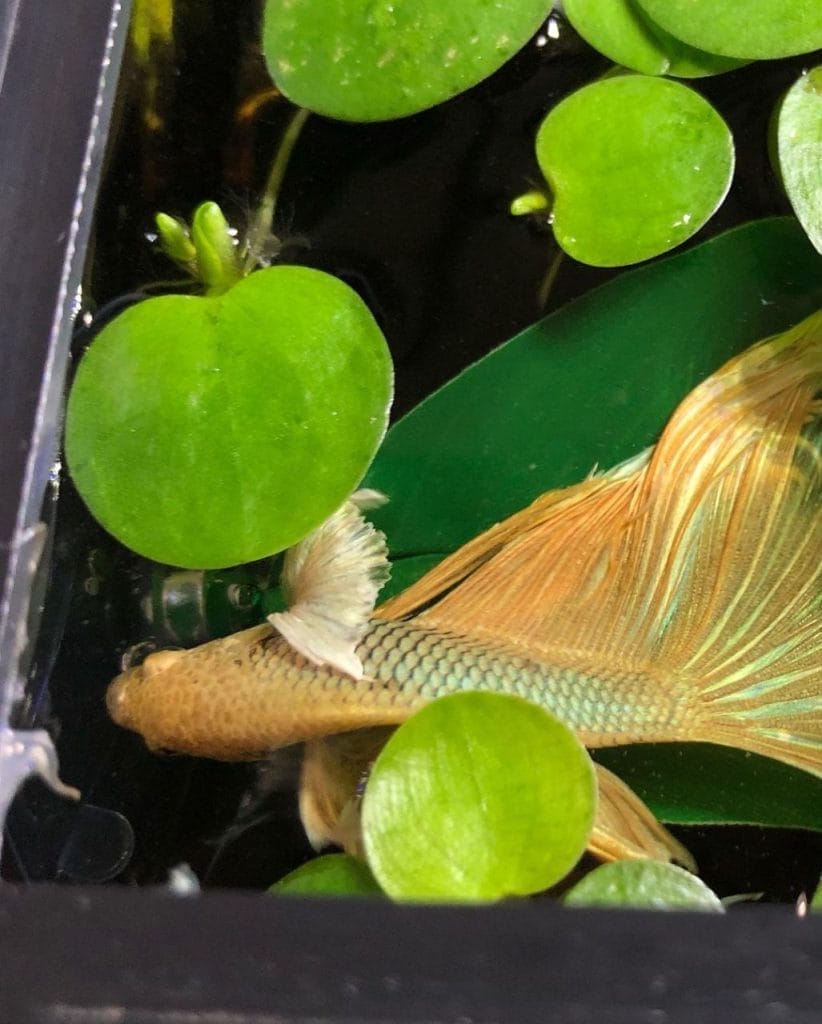
Real plants like Anubias broad leaf work even better. They’re natural, soft, and don’t cost much.
Bettas love resting on wide leaves close to the surface. Plus, real plants help with water quality too.
Just make sure:
- The leaf is sturdy and close to the surface
- No sharp edges or rough spots
- The plant can handle low light (like Anubias or Java Fern)
Final Thoughts
A betta hammock isn’t essential—but it’s nice. Think of it as a floating recliner. Your betta may use it daily, or ignore it entirely.
Either way, it’s cheap, easy to try, and safe when done right. But if you prefer natural setups, large-leaf plants might be the better route.
Let your betta decide.

About Author
Hello, I’m Muntaseer Rahman, the owner of AcuarioPets.com. I’m passionate about aquarium pets like shrimps, snails, crabs, and crayfish. I’ve created this website to share my expertise and help you provide better care for these amazing pets.
Disclaimer
This site is owned and operated by Muntaseer Rahman. AcuarioPets.com is a participant in the Amazon Services LLC Associates Program, an affiliate advertising program designed to provide a means for sites to earn advertising fees by advertising and linking to Amazon.com. This site also participates in other affiliate programs and is compensated for referring traffic and business to these companies.