
This post was created with help from AI tools and carefully reviewed by a human (Muntaseer Rahman) . For more on how we use AI on this site, check out our Editorial Policy.
Check Out These FREE Tools We Made JUST For You!
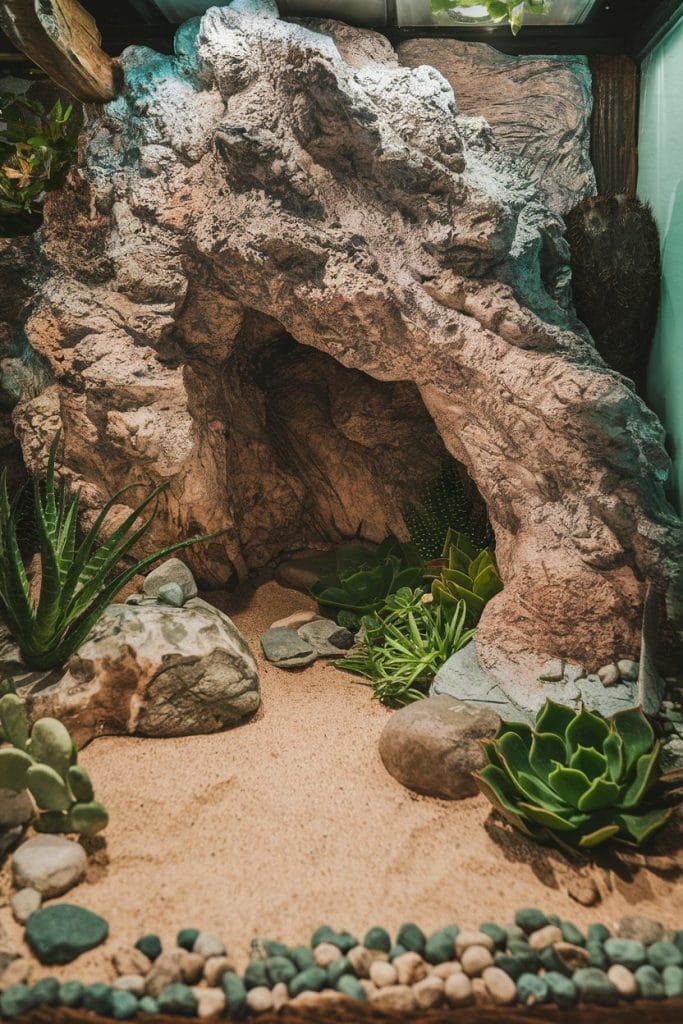
10 Brilliant DIY Bearded Dragon Hides You Can Make in an Afternoon

Is your bearded dragon staring at their tank like it’s the most boring place on Earth? Don’t worry—we’ve all been there.
Store-bought hides can be pricey and, let’s face it, not always “dragon-approved.”
That’s where these 10 DIY hide ideas come in. They’re affordable, creative, and you can whip them up in just an afternoon!
Before You Start Building: Get the Basics Right
DIY hides are great enrichment, but they don’t replace proper care. Before you start crafting, make sure your bearded dragon has these essentials:
Non-Negotiable Requirements:
Proper Enclosure Size:
- Baby (0-6 months): 20-40 gallons minimum
- Juvenile (6-12 months): 40-75 gallons minimum
- Adult (12+ months): 75-120 gallons minimum
DIY hides need space. If your tank is too small, you need a bigger enclosure before adding hides.
UVB Lighting (CRITICAL):
Hides don’t replace UVB. Without proper lighting, your dragon develops metabolic bone disease—no amount of enrichment fixes that.
- T5 HO tube bulb (10.0 or 12%)
- Mounted INSIDE the tank
- Replaced every 6-12 months
Temperature Control:
Your dragon needs proper temperatures to digest food and stay healthy.
- Basking spot: 95-110°F (varies by age)
- Cool side: 75-80°F (this is where hides go!)
Safe Substrate:
DIY hides sit on substrate—make sure yours is safe.
See substrate options (tile, not sand)
Proper Nutrition:
Quality diet with supplements
Bottom line: Hides enhance good care. They don’t fix bad setups.
DIY Hide Safety Rules (Critical)
Before you build anything, follow these safety rules to avoid harming your dragon:
Material Safety:
Safe materials:
- Natural wood (sanitized by baking at 200°F for 2 hours)
- Ceramic/terracotta (unglazed)
- Food-safe silicone and grout
- PVC (smooth edges only)
- Cork bark (natural)
Toxic materials to AVOID:
- Treated lumber (chemicals leach)
- Cedar or pine wood (toxic oils)
- Painted items (unless reptile-safe paint)
- Sharp plastics
- Anything with toxic adhesives
Size Requirements:
Entrance hole: Should be 1.5x the width of your dragon’s body
Interior space: Dragon should fit comfortably without squeezing
Height: Tall enough for your dragon to stand normally inside
Multiple exits preferred: Single-exit hides can trap stressed dragons
Placement Rules:
Cool side only: Hides go on the cool side (75-80°F), never under basking lamp (this one is dependable, choose the correct watt)
Stable placement: Must not wobble or tip over
Easy access: Your dragon should be able to enter/exit easily
Temperature Considerations:
Hides should provide relief from heat, not trap it. Place on the cool side away from basking areas.
Use a temperature gun to verify hide interior temps stay 75-80°F.
Cleaning Requirements:
DIY hides need regular cleaning:
- Weekly wipe-down
- Monthly deep clean with reptile-safe disinfectant
- Replace materials that can’t be cleaned (cardboard, worn wood)
Not feeling DIY? Check our ready-made hide recommendations for safe, tested options.

Your Beardie Has More to Say…
This article tells you WHAT to do, but do you know WHY your dragon needs it? Or what they’re thinking when you do it wrong?
Read the full rant (all 20 chapters of it) in: “What Your Bearded Dragon Wishes You Knew”
*Told by a very frustrated beardie who’s had ENOUGH of watching you guess.*
10 DIY bearded dragon hide ideas

1. Coconut Shell Hide
Supplies Needed:
- Large coconut
- Saw or serrated knife
- Sandpaper
- Spoon or scraper
- Reptile-safe paint (optional)
Instructions:
- Take a large coconut and cut it in half using a saw or serrated knife. Ensure the cut is clean and wide enough for your dragon to enter.
- Use a spoon or scraper to remove the coconut meat completely.
- Sand the edges of the entrance hole to make them smooth and safe.
- If desired, paint the outside with reptile-safe paint for added color and seal with a non-toxic sealant.
- Place the shell in the enclosure upside down, with the entrance hole facing outward.
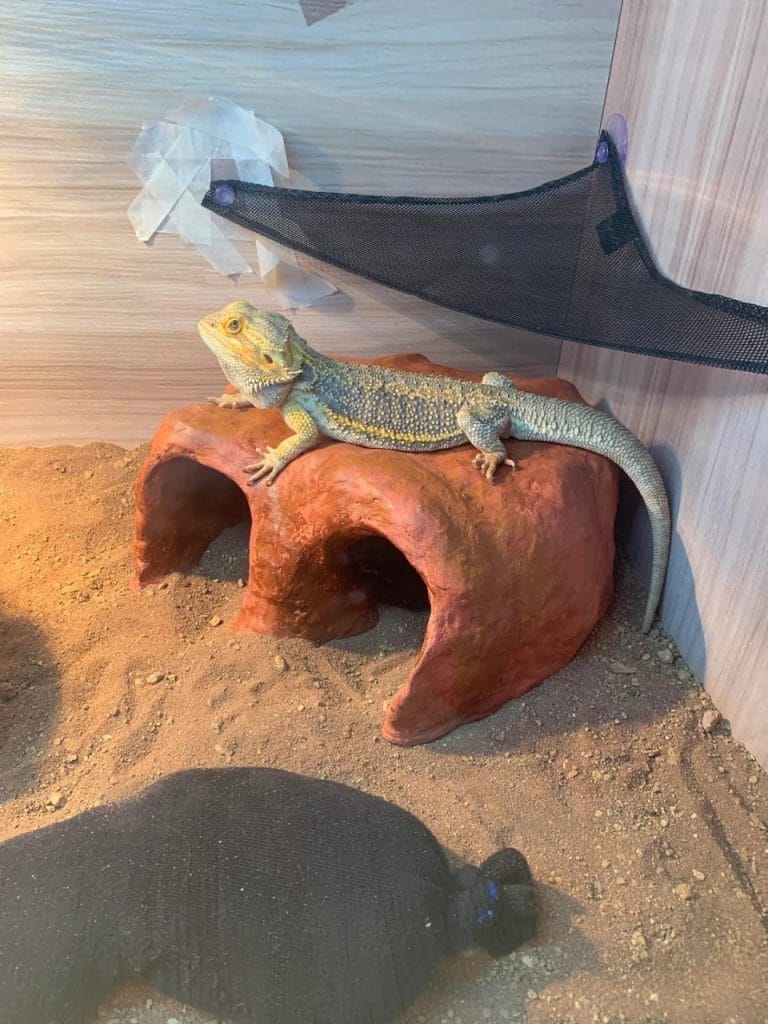
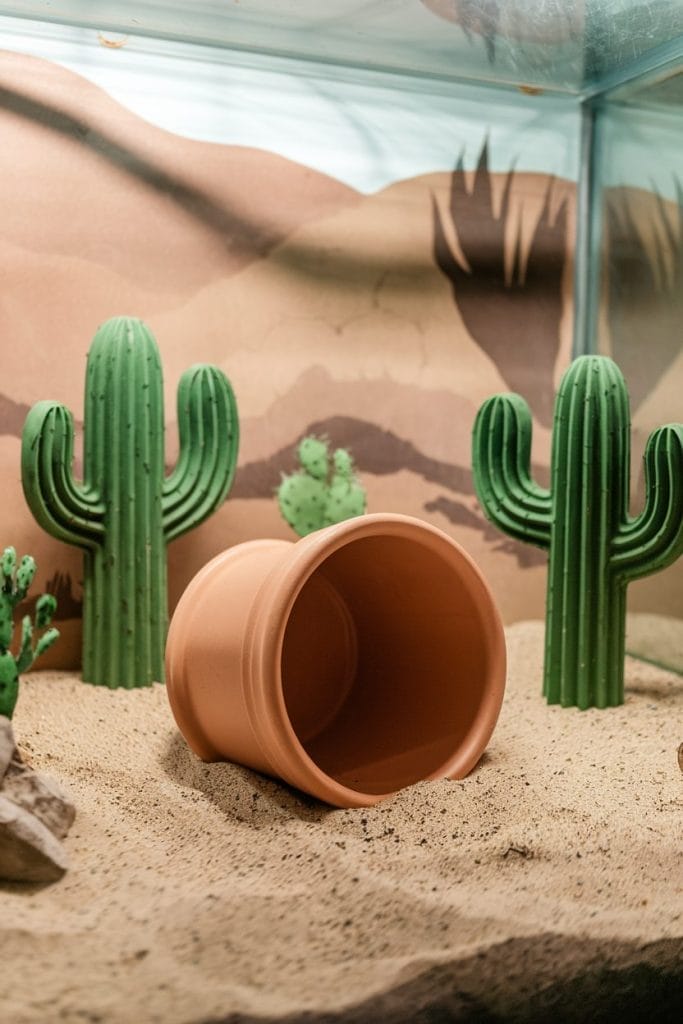
2. Clay or Terracotta Pot Hide
Supplies Needed:
- Terracotta pot (6-8 inches)
- Sandpaper or file
- Reptile-safe paint or decorations (optional)
Instructions:
- Lay the terracotta pot on its side to create a natural cave.
- Use sandpaper or a file to smooth any sharp edges, especially around the opening.
- Optionally, decorate the pot with reptile-safe paints or wrap it in natural moss to make it blend with the tank setup.
- Position it in a quiet corner of the tank, partially burying it in the substrate for stability.
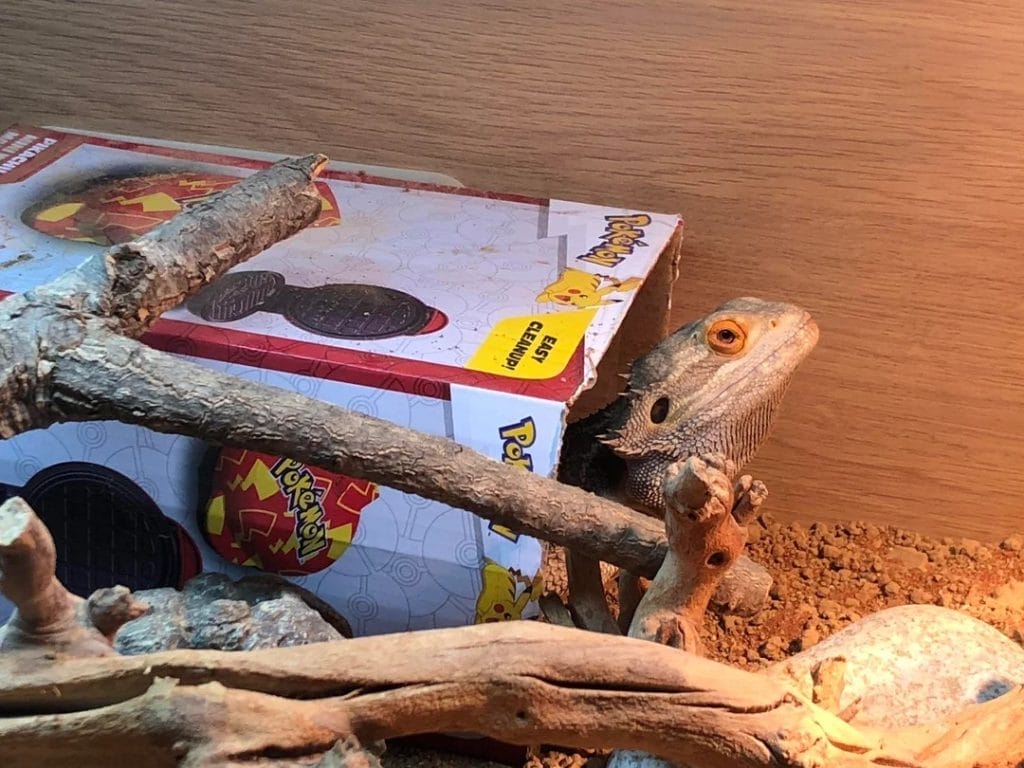
3. Cardboard Box Hide
Supplies Needed:
- Thick cardboard box
- Scissors or utility knife
- Non-toxic paints or paper for decoration
- Reptile-safe sealant (optional)
Instructions:
- Choose a cardboard box that’s big enough for your bearded dragon to comfortably hide in.
- Cut an entrance hole on one side using a utility knife. Ensure the hole is smooth and free of jagged edges.
- Decorate the box with non-toxic paint or wrap it in reptile-safe paper. For added durability, apply a thin coat of sealant.
- Place it in the tank and replace it periodically as cardboard tends to degrade over time.
Important warnings:
- Cardboard is TEMPORARY only—replace weekly or when soiled
- Not suitable for long-term use (mold and bacteria risk)
- Never use if humidity is high
- Monitor for chewing—remove immediately if ingested
For permanent hides, use durable materials like ceramic or wood.
4. PVC Pipe Tunnel
Supplies Needed:
- PVC pipe (6-8 inches wide)
- Saw
- Sandpaper
- Aquarium-safe adhesive (optional)
- Rocks, sand, or substrate for decoration
Instructions:
- Cut a section of PVC pipe to your desired length, usually about 8-12 inches.
- Sand down the edges to ensure there are no sharp bits.
- Use aquarium-safe adhesive to attach rocks, sand, or substrate to the outside of the pipe to make it look natural.
- Place the pipe in the tank, angling it slightly if you want it to double as a climbing structure.
Placement tip: PVC can get hot under basking lamps. Place on the cool side only and verify interior temps with a temperature gun.
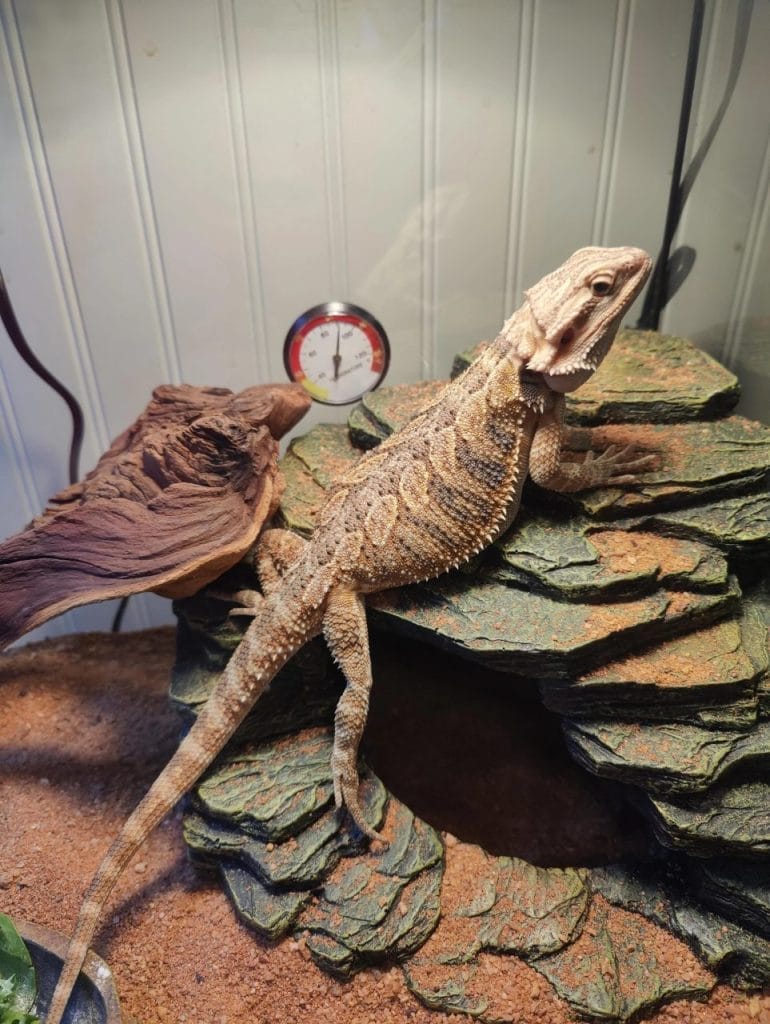
5. Stacked Slate Cave
Supplies Needed:
- Flat slate stones
- Aquarium-safe adhesive
- Sandpaper (if needed)
Instructions:
- Gather slate stones of various sizes. Ensure they are clean and free of sharp edges.
- Stack the stones to form a cave-like structure, leaving enough space for your bearded dragon to crawl in and out comfortably.
- Use aquarium-safe adhesive to secure the stones together for stability.
- Allow the adhesive to dry completely before placing it in the tank. This hide also works as a basking spot!
If using as basking spot: Position under your basking bulb and verify surface temp reaches 95-110°F (depending on age) with a temperature gun.

6. Wooden Box or Bark Hide
Supplies Needed:
- Small wooden box or cork bark pieces
- Saw or utility knife
- Reptile-safe sealant
Instructions:
- If using a wooden box, cut a hole in one side to create an entrance. Smooth the edges with sandpaper.
- If using cork bark, choose pieces that can naturally form a cave shape.
- Seal the wooden surfaces with reptile-safe sealant to prevent mold or water damage.
- Place the hide in the enclosure and partially bury it in the substrate for added stability.
7. DIY Foam and Grout Hide
Supplies Needed:
- Expanding foam
- Non-toxic grout
- Utility knife
- Reptile-safe paint
Instructions:
- Spray expanding foam into the desired shape of the hide. Let it fully cure.
- Carve the foam into a hide shape with a utility knife, making sure the entrance is large enough.
- Cover the foam with non-toxic grout for texture and durability. Apply multiple layers, letting each layer dry completely.
- Paint the hide with reptile-safe colors to mimic natural rock. Let it dry before placing it in the tank.
Critical safety notes:
- Only use aquarium-safe expanding foam (check label)
- Grout must be non-toxic and fully cured (7+ days)
- Test in water before adding to tank (some foam releases chemicals)
- This is ADVANCED—beginners should use simpler hides
Easier option: Buy pre-made resin hides. See our recommendations.

8. Plastic Container Hide
Supplies Needed:
- Plastic container with lid
- Utility knife or scissors
- Sandpaper
- Non-toxic decorations (optional)
Instructions:
- Cut an entrance hole in the plastic container, ensuring it’s big enough for your bearded dragon.
- Smooth the edges with sandpaper to remove any sharp bits.
- Decorate the container with non-toxic materials or paint to make it blend with the enclosure.
- Position it in the tank and partially bury it in the substrate if needed.
9. Plant Pot Saucer Hide
Supplies Needed:
- Large plant pot saucer
- Utility knife (if cutting is needed)
- Reptile-safe paint or decorations (optional)
Instructions:
- Take a large saucer and flip it upside down to form a dome.
- If needed, cut an entrance hole using a utility knife and smooth the edges.
- Optionally, decorate the saucer with reptile-safe paint or attach moss or rocks.
- Place it in the enclosure and ensure it’s stable.

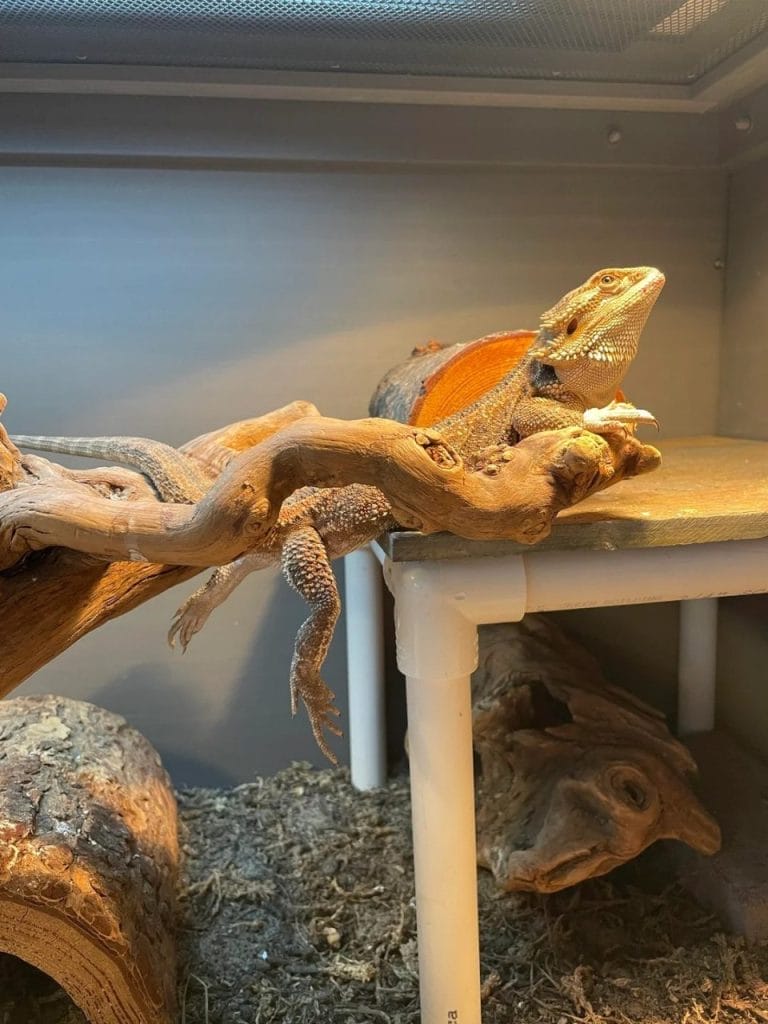
10. Log or Driftwood Hide
Supplies Needed:
- Hollow log or large piece of driftwood
- Sandpaper
- Cleaning supplies (for sterilization)
Instructions:
- Select a hollow log or driftwood that’s large enough for your bearded dragon to hide inside.
- Clean and sterilize the wood by baking it in the oven at a low temperature or soaking it in a bleach solution (rinse thoroughly afterward).
- Sand down any rough spots or sharp edges.
- Place the wood in the tank as a natural and functional hide.
When to Use Each Hide Type
Not all hides work in all situations. Here’s when to use each:
For Cool-Side Retreat:
- Coconut shell
- Terracotta pot
- Wooden box
- Log/driftwood
Place on cool side (75-80°F) away from basking lamp.
For Humid Hides (Shedding):
- Plastic container with damp moss
- Terracotta pot with moist substrate
Use during shedding to help loosen stuck skin. Monitor humidity—don’t let entire tank get humid.
For Basking Platforms:
- Stacked slate cave (if stable)
- Foam/grout hide with flat top
Place under basking lamp and verify temps with temperature gun.
Temporary vs. Permanent:
Temporary (replace frequently):
- Cardboard box
- Plain wooden boxes (unsealed)
Permanent (clean and reuse):
- Ceramic/terracotta
- Sealed wood
- PVC
- Grout-covered foam
How Many Hides Do You Need?
Minimum: 2 hides
- One on cool side
- One on warm side (or basking platform)
Ideal: 3+ hides
- Multiple cool-side options
- Basking platform
- Humid hide for shedding
Tank size matters: Larger tanks (120 gallons for adults) can accommodate more hides without crowding.
Build Safe Hides That Your Dragon Will Actually Use
These 10 DIY hide ideas give your bearded dragon options for security and enrichment—but only if you follow safety rules and maintain proper tank conditions.
The Complete Picture:
Your dragon needs:
Essential Equipment (Can’t skip):
- Proper-sized enclosure (75-120 gallons for adults)
- T5 HO UVB lighting
- Correct temperatures
- Safe substrate (tile, not sand)
- Quality diet with supplements
Then add hides and decor:
- Cool-side hides (DIY or store-bought)
- Basking platforms
- Climbing structures
Complete Setup Checklist:
- [ ] Proper-sized enclosure
- [ ] T5 HO UVB bulb
- [ ] Basking bulb
- [ ] Temperature gun
- [ ] Tile substrate
- [ ] Quality diet
- [ ] Supplements
- [ ] Cool-side hide (DIY or purchased)
- [ ] Basking platform
- [ ] Additional decor
DIY vs. Store-Bought:
DIY advantages:
- Cheaper
- Customizable
- Creative and fun
DIY disadvantages:
- Time-consuming
- Risk of unsafe materials
- May not last long
Store-bought advantages:
- Pre-tested for safety
- Durable materials
- Professional appearance
- Easier to clean
Store-bought disadvantages:
- More expensive upfront
- Less customization
Our recommendation: Start with quality store-bought hides for primary hides, then add DIY options for variety and enrichment.
Budget-Friendly Approach:
Don’t cheap out on:
Save money on:
- DIY hides (using safe materials)
- Thrift store ceramic bowls
- Natural branches (sanitized)
- Decorative elements
Final Safety Reminders:
Before adding ANY DIY hide:
- Check for sharp edges (run your hand over everything)
- Verify materials are non-toxic
- Test stability (push/pull—it shouldn’t move)
- Place on cool side unless specifically designed for basking
- Monitor your dragon’s use (remove if they ignore or show stress)
Signs your hide is unsafe:
- Dragon avoids it
- Stress marks appear
- Dragon gets stuck
- Materials break down quickly
When in doubt, use proven safe options.
Priority Order:
Step 1: Get essential equipment right
Step 2: Add at least one safe hide
Step 3: Perfect diet and supplements
Step 4: Add DIY hides for enrichment
Never skip steps. A cool DIY hide in a poorly set-up tank doesn’t help.
Now go build something awesome—but do it safely.

About Author
Hello, I’m Muntaseer Rahman, the owner of AcuarioPets.com. I’m passionate about aquarium pets like shrimps, snails, crabs, and crayfish. I’ve created this website to share my expertise and help you provide better care for these amazing pets.
Disclaimer
This site is owned and operated by Muntaseer Rahman. AcuarioPets.com is a participant in the Amazon Services LLC Associates Program, an affiliate advertising program designed to provide a means for sites to earn advertising fees by advertising and linking to Amazon.com. This site also participates in other affiliate programs and is compensated for referring traffic and business to these companies.