
This post was created with help from AI tools and carefully reviewed by a human (Muntaseer Rahman) . For more on how we use AI on this site, check out our Editorial Policy.
Check Out These FREE Tools We Made JUST For You!
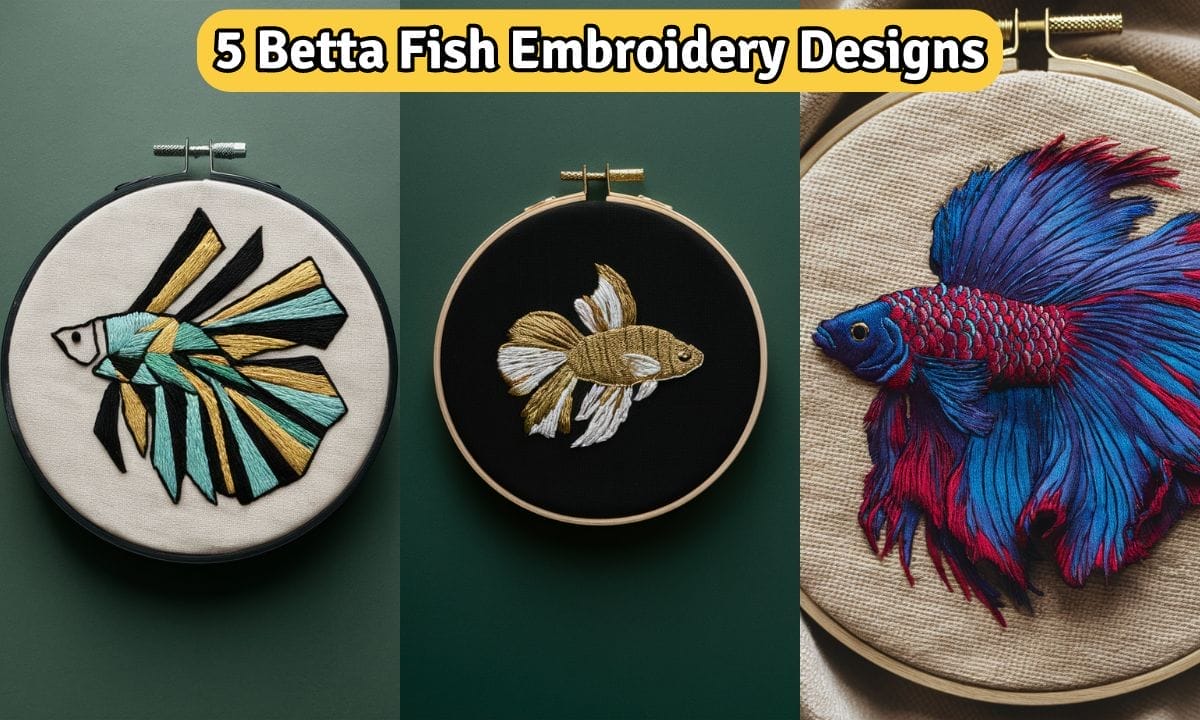
5 Gorgeous Betta Fish Embroidery Designs You’ll Love
If you’re a fan of both betta fish and the art of embroidery, you’re in for a treat!
In this post, we’ll showcase five stunning betta fish embroidery designs that are sure to captivate your heart.
Whether you’re an experienced embroiderer or just starting out, these intricate patterns offer a unique way to celebrate the beauty of betta fish through needle and thread.

5 Betta Fish Embroidery Designs


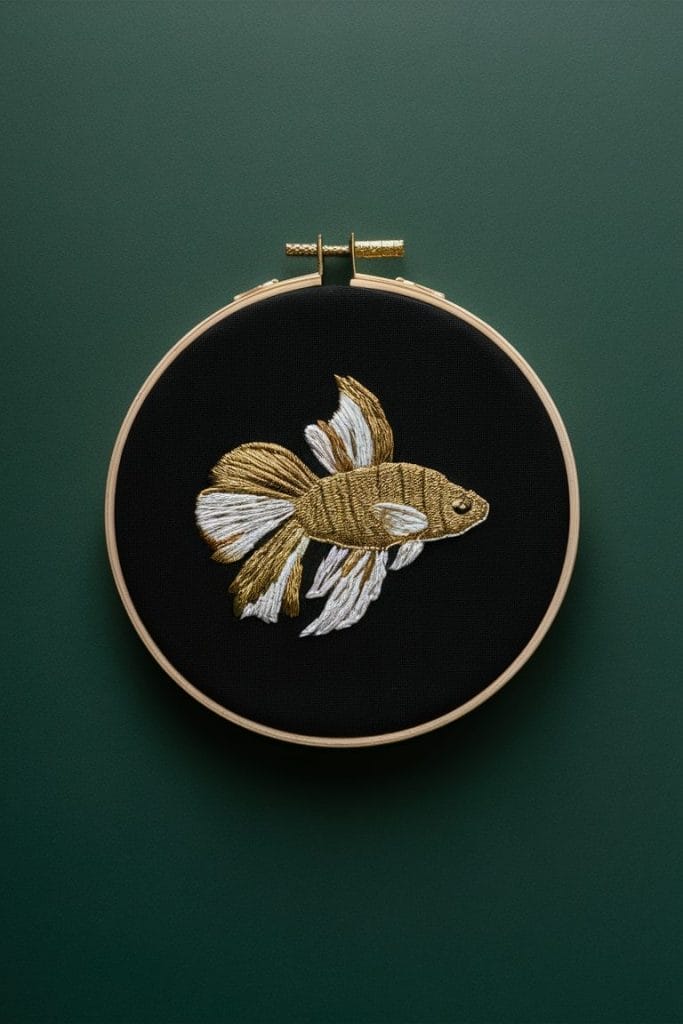
1. Realistic Betta Fish Embroidery
A lifelike betta fish design that captures the vibrant colors and flowing fins of a real betta fish.
DIY Process:
- Materials: Embroidery hoop, fabric, embroidery floss in various shades of blue, red, and purple, needle, and scissors.
- Step 1: Choose a high-quality reference image of a betta fish.
- Step 2: Sketch the outline of the fish on your fabric using a fabric pencil.
- Step 3: Start with the body of the fish, using satin stitch for smooth, solid areas. Blend different shades of blue and red to create a realistic effect.
- Step 4: Use long and short stitches for the fins, following the natural flow of the fins to mimic their movement.
- Step 5: Add details to the eye and scales using a fine needle and darker floss to give depth.
- Step 6: Finish by framing the embroidery in a hoop or adding it to a piece of home decor.
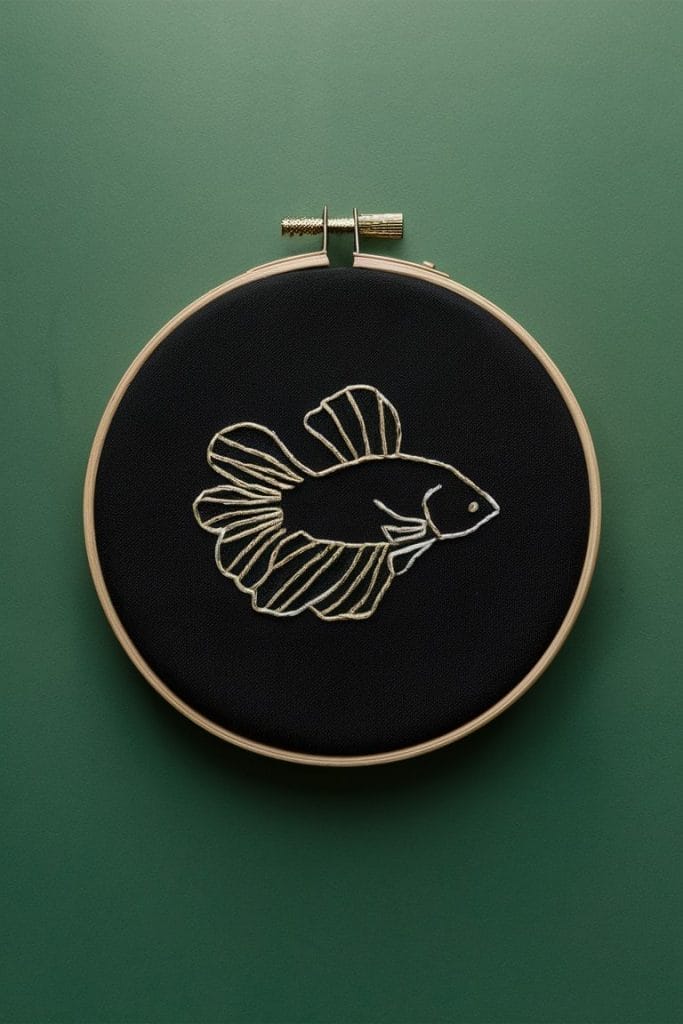
2. Minimalist Betta Fish Silhouette
A simple and elegant betta fish silhouette that focuses on clean lines and a modern aesthetic.
DIY Process:
- Materials: Embroidery hoop, dark fabric (like navy or black), white or gold embroidery floss, needle, and scissors.
- Step 1: Draw a basic outline of a betta fish in a side profile on the fabric.
- Step 2: Use a backstitch to trace the outline of the fish. Keep the lines clean and sharp.
- Step 3: For the fins, use long, sweeping stitches to emphasize the movement and grace of the betta fish.
- Step 4: Keep the design minimal by avoiding too much detail. The focus should be on the silhouette.
- Step 5: Finish by mounting the fabric in a simple frame to keep the focus on the design.
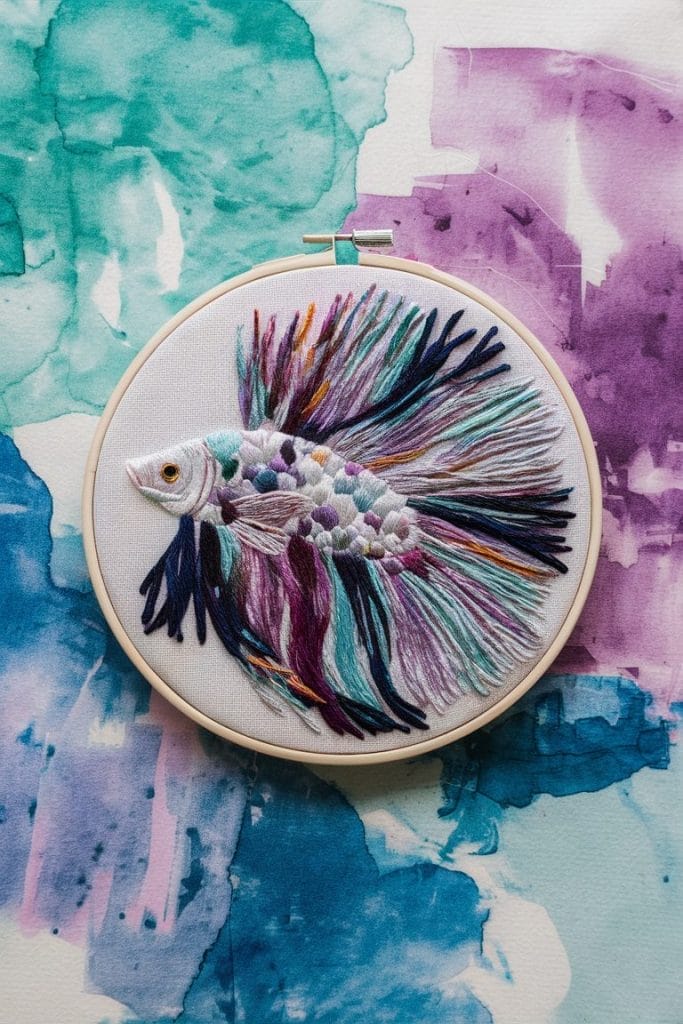
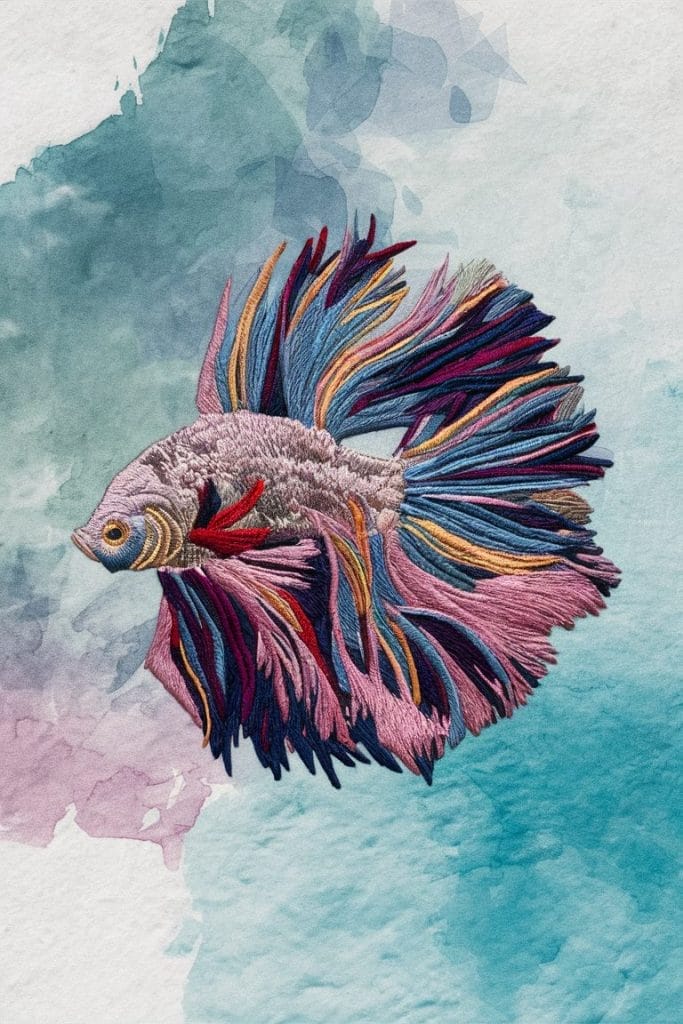
3. Abstract Betta Fish with Watercolor Background
Combine the softness of watercolor with the precision of embroidery to create a unique mixed-media piece featuring a betta fish.
DIY Process:
- Materials: Embroidery hoop, fabric, watercolor paints, embroidery floss in contrasting colors, needle, and paintbrushes.
- Step 1: Begin by lightly sketching the betta fish outline on your fabric.
- Step 2: Paint the background using watercolor. Choose colors that complement the fish, like soft blues and purples.
- Step 3: Once the paint is dry, use backstitches to outline the fish and satin stitches to fill in the body and fins.
- Step 4: Use contrasting colors for the embroidery to make the fish stand out against the watercolor background.
- Step 5: Add final details like highlights on the fins or bubbles in the water using French knots.
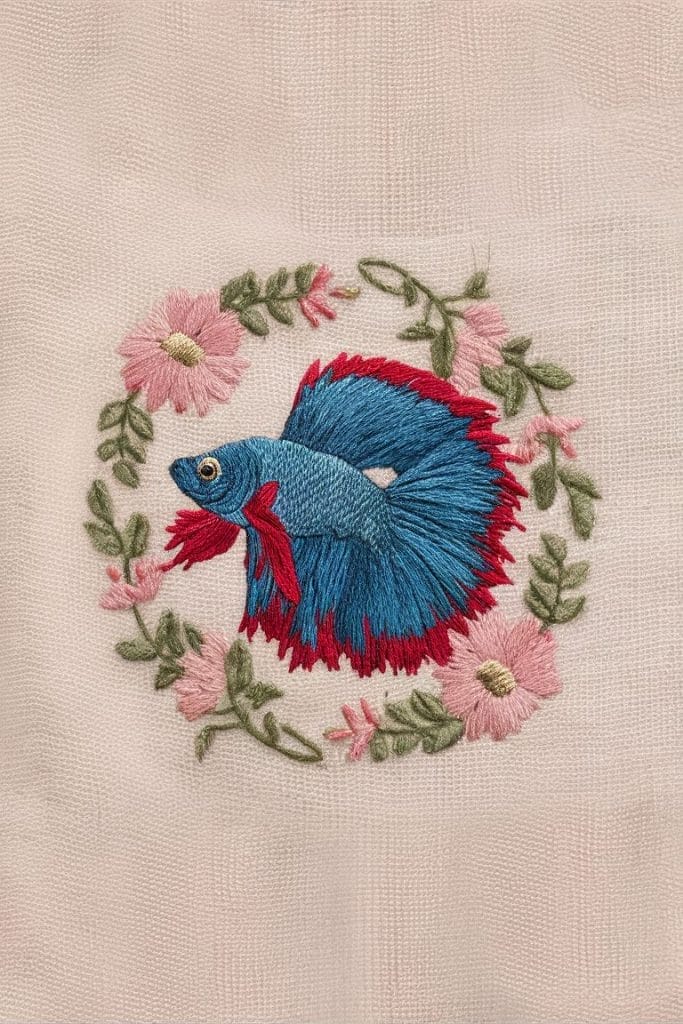

4. Betta Fish with Floral Motifs
A whimsical betta fish surrounded by delicate floral patterns, merging aquatic and floral themes.
DIY Process:
- Materials: Embroidery hoop, fabric, embroidery floss in various colors (especially pinks, greens, and blues), needle, and scissors.
- Step 1: Sketch the outline of a betta fish in the center of the fabric and add surrounding floral motifs.
- Step 2: Start by embroidering the betta fish using satin stitches for the body and long stitches for the fins.
- Step 3: Use French knots and lazy daisy stitches to create flowers around the fish, mixing small and large blooms.
- Step 4: Add leaves and vines using stem stitches and satin stitches to complete the floral motifs.
- Step 5: Finish by adding details like tiny buds or extra petals to give the design depth.
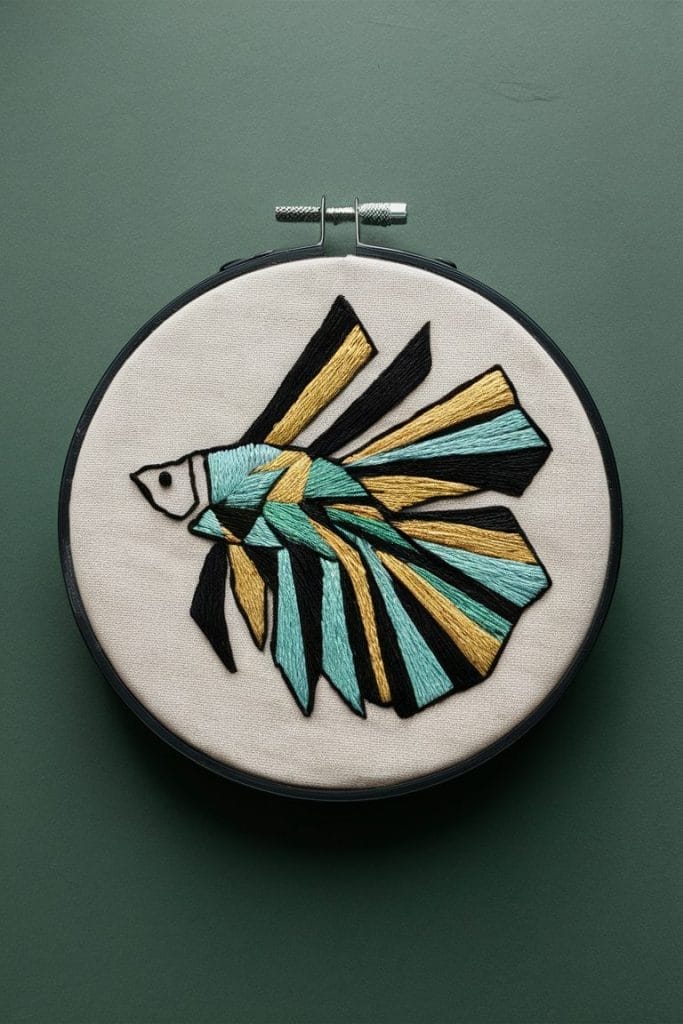
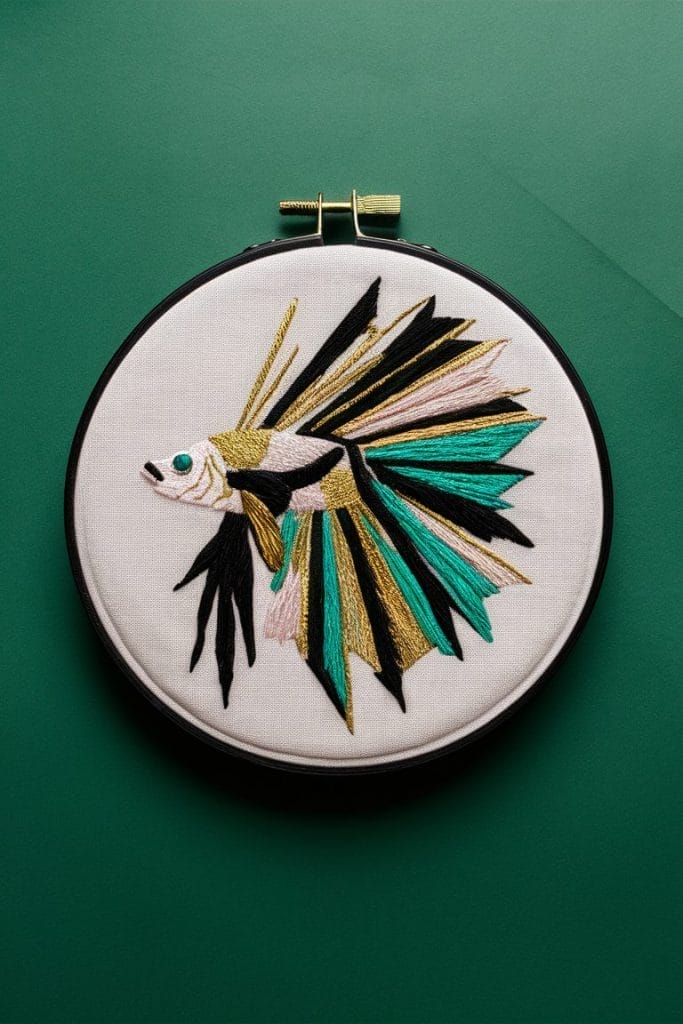
5. Geometric Betta Fish Design
A modern betta fish design featuring geometric shapes and bold lines, perfect for a contemporary look.
DIY Process:
- Materials: Embroidery hoop, fabric, embroidery floss in bold colors (like black, gold, and teal), needle, and scissors.
- Step 1: Outline the betta fish using straight lines and geometric shapes instead of natural curves.
- Step 2: Use backstitches to create the geometric outline of the fish, focusing on sharp angles and intersections.
- Step 3: Fill in some of the shapes with satin stitches in bold, contrasting colors to add visual interest.
- Step 4: Leave some shapes unfilled for a more abstract, modern look.
- Step 5: Mount the finished piece in a sleek, modern frame.

About Author
Hello, I’m Muntaseer Rahman, the owner of AcuarioPets.com. I’m passionate about aquarium pets like shrimps, snails, crabs, and crayfish. I’ve created this website to share my expertise and help you provide better care for these amazing pets.
Disclaimer
This site is owned and operated by Muntaseer Rahman. AcuarioPets.com is a participant in the Amazon Services LLC Associates Program, an affiliate advertising program designed to provide a means for sites to earn advertising fees by advertising and linking to Amazon.com. This site also participates in other affiliate programs and is compensated for referring traffic and business to these companies.